by
by Preface.
A web bot is a program that automates your actions in the Internet.
In this article, I will explain the general principle of creating bots in Python, applying the knowledge gained, you will be able to create a bot that can:
- Gets up-to-date information about the cost of the goods.
- Automatically participates in giveaways.
- Writes messages on your behalf(link to the lesson).
- Download a pictures from site (link to the lesson).
Let’s begin.
Create the first bot on Selenium.
Selenium is a library for automating actions in the browser.
This method is suitable for any site, however, you need to pay for it. Selenium launches browser, eating away a huge amount of RAM. Use it only when you need to execute JS code on the page.
First of all, you need to install the library, to do this, type in the console:
pip install seleniumNext, install the web driver for Firefox browser from here. Also, you need to install Mozilla Firefox browser, if you haven’t installed.
Now let’s write a simplest bot. To do this, write the following python script.
from selenium import webdriver #Importing library

browser = webdriver. Firefox() #creating browser Firefox object
browser.get('https://under-prog.ru') #via get method, moving to the specified URL
The script code is described in the comments.
Next, move the script file to the same folder as the geckodriver
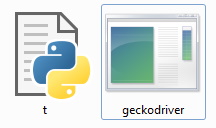
And run the python script. Browser should open.
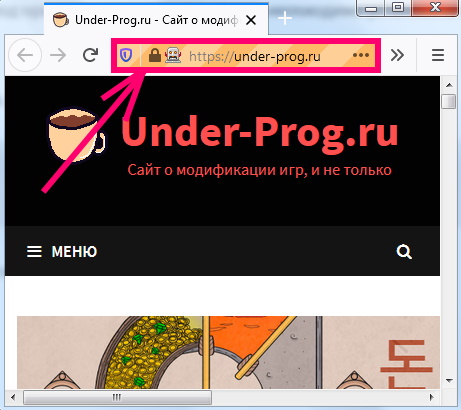
In the address bar, the robot icon is appeared, which means that the browser is controlled by the program.
Okay, the bot is built, but it’s useless. The only thing he is capable of is to go to the site. Let’s add new features to it. For example, let’s make the bot like posts on the site.
Bot likes posts on the site.
The sequence of actions we have is as follows.
- Go to the under-prog.ru website (open browser)
- Go through each of the posts.
- Press the like button if it is not pressed.
- Close the browser.
We have already made the first point, let’s move on to the second.
Go through each of the posts.
At this point, you need to understand html script.
Go to the site, and press the F12 button.
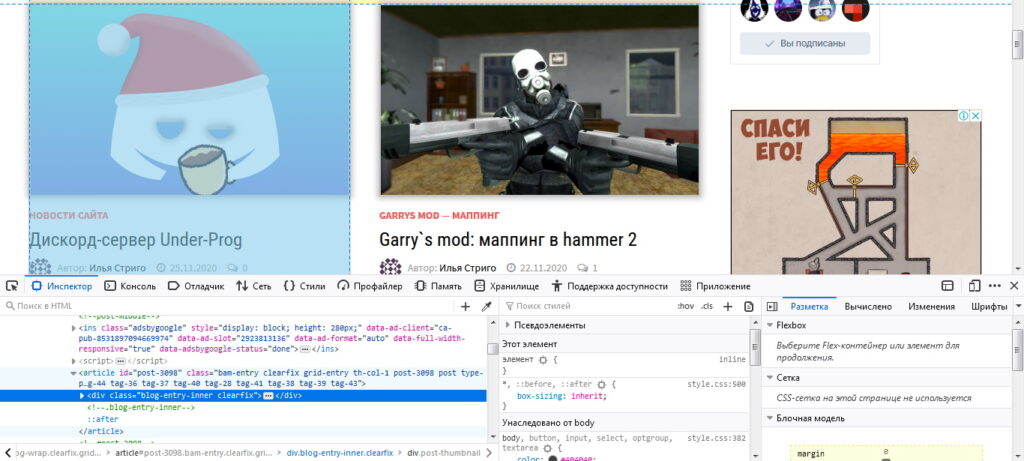
You’ll open the developer tools. After studying the markup, we understand that all posts are in the article tag.
Now we need to get a link to every post. To do this, we will use this css selector.
article div div.blog-entry-content header.entry-header h2.entry-title a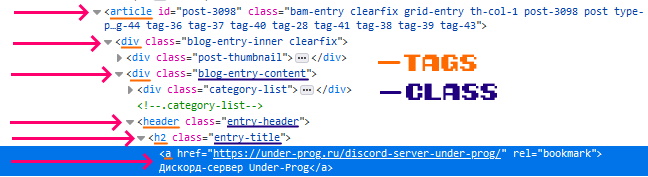
This selector indicates:
- On an item with an a tag
- which is inside the h2 tag with the entry-title class
- that, in turn, is inside the header tag with the entry-header class
- the header tag is inside the div tag with the blog-entry-content class
- the one that is in the div tag
- the div tag is inside the article tag
Now, let’s add the bot.
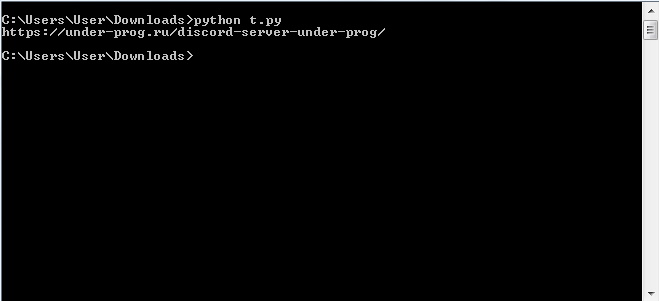
link = browser.find_elements_by_css_selector('article div div.blog-entry-content header.entry-header h2.entry-title a')[0].get_attribute('href')
print(link)
Let’s analyze new function.
find_elements_by_css_selector(css_selector)This function searches for elements by css selector. As result, it returns an array of elements.
link = browser.find_elements_by_css_selector('article div div.blog-entry-content header.entry-header h2.entry-title a')[0].get_attribute('href')In general, we got the first element from this array, and using function get_attribute(), we got a value of the href attribute (link to the post).
print(link)And printed to the screen.
Run the script, a link to the first post should appear in the console.
If you throw an array of elements into a loop, you will get to extract links to all posts.
from selenium import webdriver

browser = webdriver. Firefox()
browser.get('https://under-prog.ru')

elements = browser.find_elements_by_css_selector('article div div.blog-entry-content header.entry-header h2.entry-title a')
for elem in elements:
    print(elem.get_attribute('href'))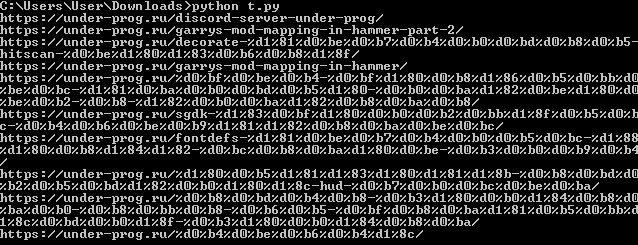
Great, links to all posts received, left all these posts, put like.
Press the like button if it is not pressed
First, copy our links into a separate array. Replace this:
elements = browser.find_elements_by_css_selector('article div div.blog-entry-content header.entry-header h2.entry-title a')
for elem in elements:
    print(elem.get_attribute('href'))
To this:
elements = browser.find_elements_by_css_selector('article div div.blog-entry-content header.entry-header h2.entry-title a')
links_arr = []
for elem in elements:
    links_arr.append(elem.get_attribute('href'))
Next, write the code responsible for pressing the likebutton.
for link in links_arr: #Проходим for each element of the link array
    browser.get(link) #Переходим link
    if browser.find_element_by_css_selector('button.wp_ulike_btn')).get_attribute('class').find('wp_ulike_btn_is_active') == -1: #Если the 'like' button is not pressed, then
        browser.find_element_by_css_selector('button.wp_ulike_btn').click() #кликаем by 'like' button
Let’s analyze these strings.
if browser.find_element_by_css_selector('button.wp_ulike_btn').get_attribute('class').find('wp_ulike_btn_is_active') == -1:This line searches for the button using the css_ selector, and gets a string with the names of the classes of our button.

Next, using the find function (a standard python function), we get the substring index ‘wp_ulike_btn_is_active‘, if the substring could not be found, the find function returns -1, which we used in our condition. That is, if the attribute ‘class‘ does not contain a substring ‘wp_ulike_btn_is_active‘, then.
browser.find_element_by_css_selector('button.wp_ulike_btn').click()Click on the like button.
It remains to close the browser, it is done using the quit()function.
browser.quit()The bot is complete, run the script, and enjoy the automation.
Making the browser invisible
The bot works and everything would be fine, but with its browser window, it covers all other windows. Fortunately, Firefox has a headless mode that allows you to use the features of the browser without opening a browser window.
Add the following code before initializing your browser:
option = webdriver. FirefoxOptions()
option.headless = True
Here, we have re-determined the browser settings, it remains to transfer them to our browser.
browser = webdriver. Firefox(options=option)Now, everything is ok.
Full code:
from selenium import webdriver

option = webdriver. FirefoxOptions()
option.headless = True

browser = webdriver. Firefox(options=option)
browser.get('https://under-prog.ru')

elements = browser.find_elements_by_css_selector('article div div.blog-entry-content header.entry-header h2.entry-title a')
links_arr = []
for elem in elements:
    links_arr.append(elem.get_attribute('href'))

for link in links_arr:
    browser.get(link)
    if browser.find_element_by_css_selector('button.wp_ulike_btn').get_attribute('class').find('wp_ulike_btn_is_active') == -1:
        browser.find_element_by_css_selector('button.wp_ulike_btn').click()

browser.quit()
Final result.