by
by Preface.
In this tutorial, you will learn how to add characters on the NSSSWP engine. The lesson will be long, so be patient.
Create a new skin.
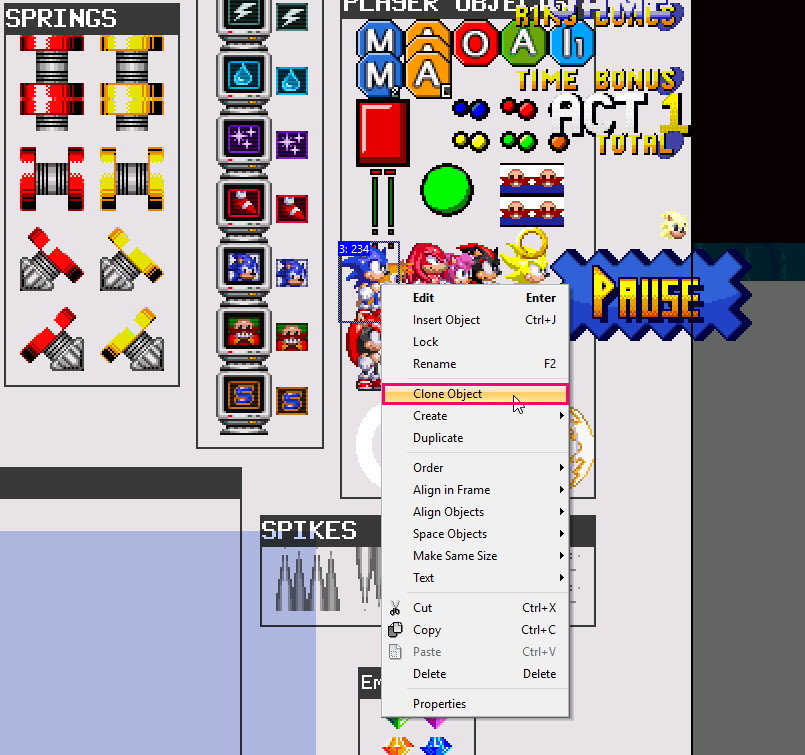
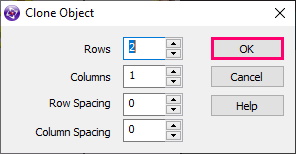
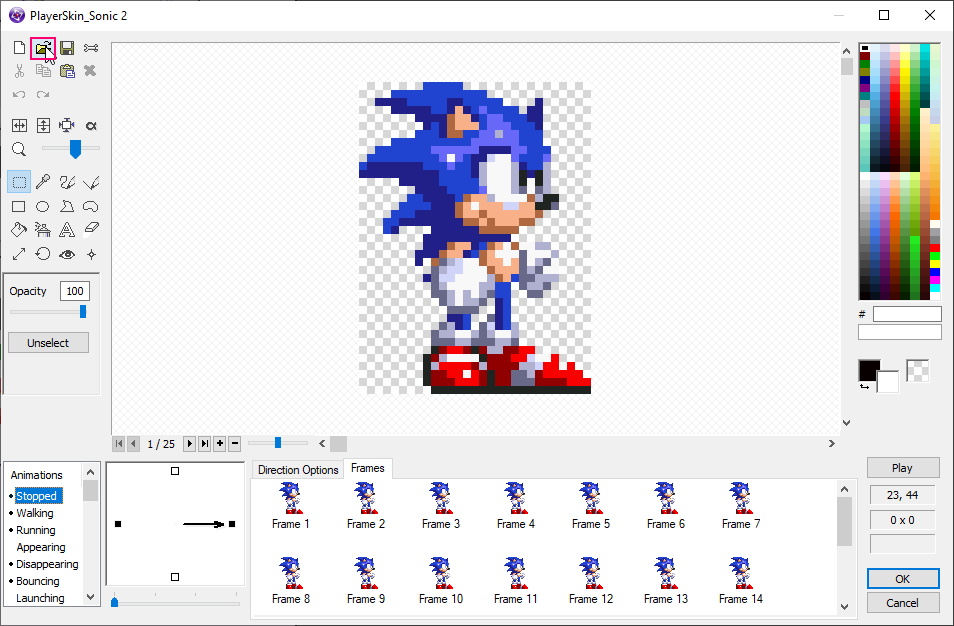
Bend the skin of Sonic by pressing Clone Object
And replace the sprites of the skin with the ones you need. There is an easy way to replace the animation.
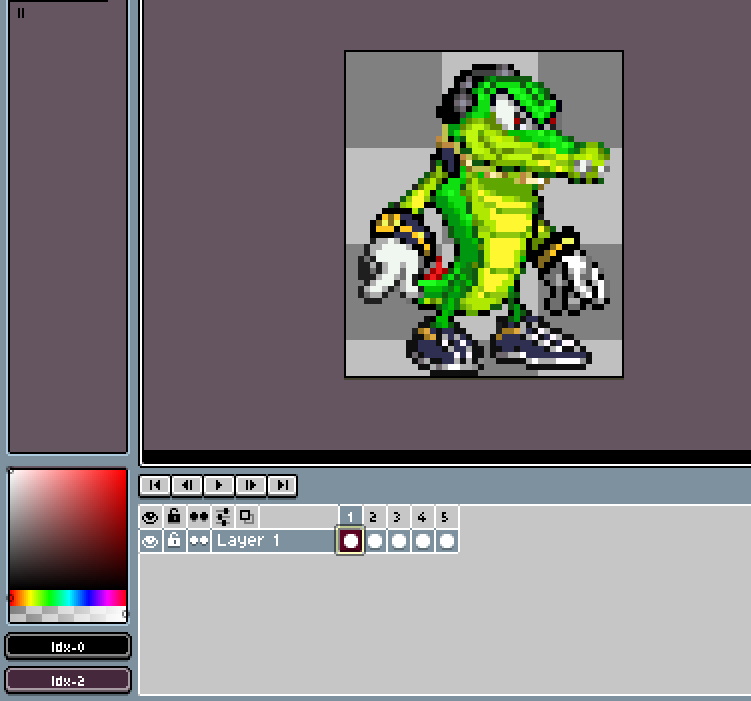
First, create an animation in Aseprite. You draw sprites yourself, or take them from a set of sprites, as I did.
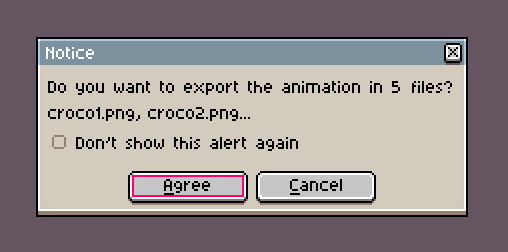
After you finish doing the animation, save it to png. The program will offer to divide it into separate frames – we agree.
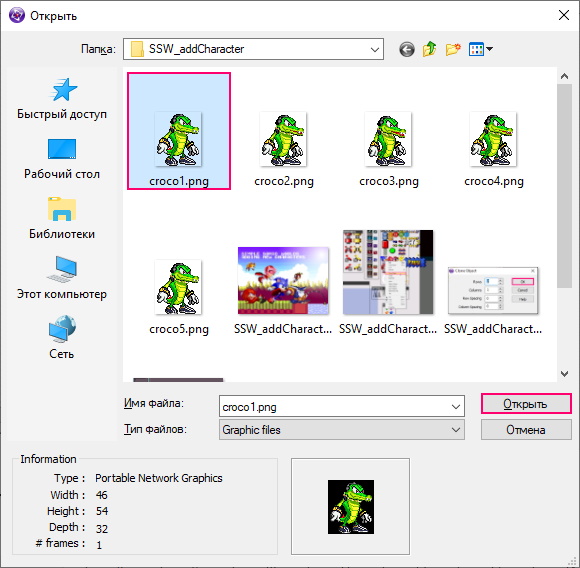
Next, import the 1st frame of the animation.
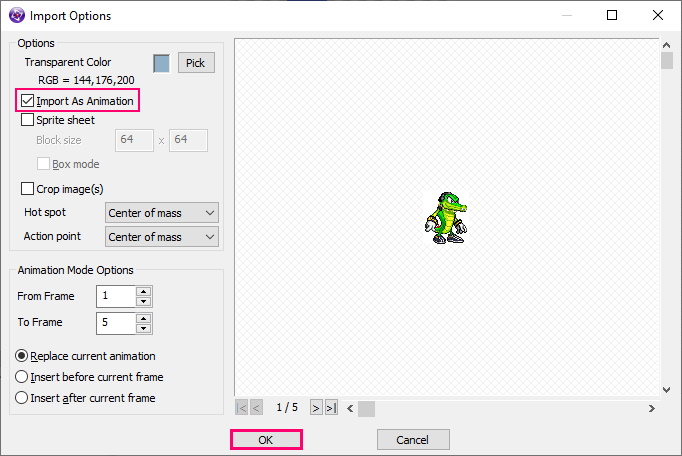
Import it as an animation.
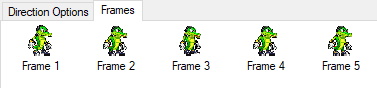
As a result, the Sonic frames were replaced with the necessary ones.
Add the skin to the engine.
Then there’s the process of creepy copy-paste, so get ready.
Move the skin to the initial coordinates.
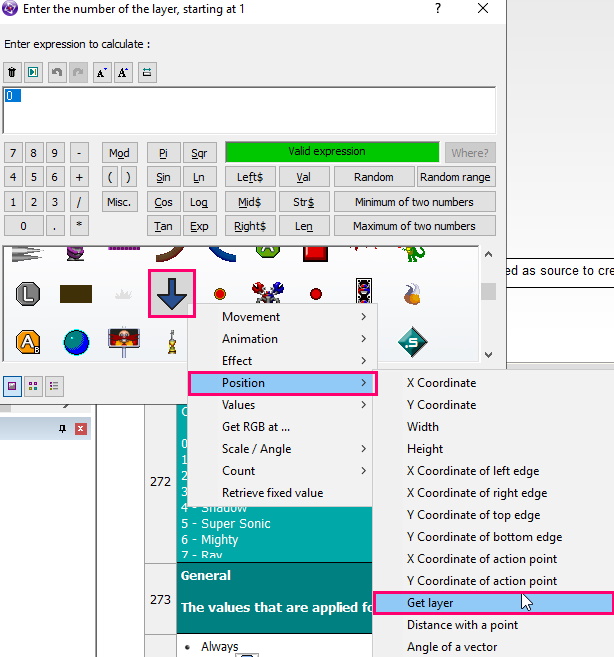
Set the position of your skin to X, to the value of the FloatX variable, as in the picture below.
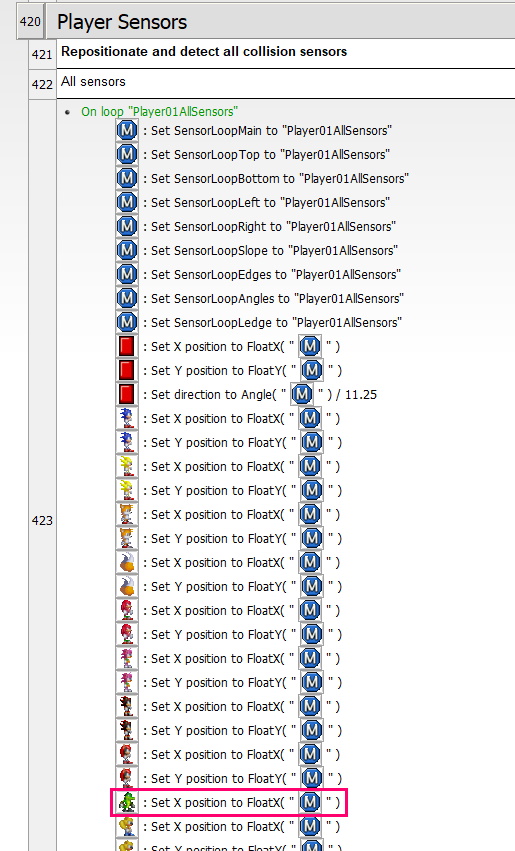
With Y, do the same.
In the Player Initialization group, which can be found along this path.
Sonic Simple Worlds PLUS [1.0] -> Objects management -> Player -> Player Initialization
Add a new condition.
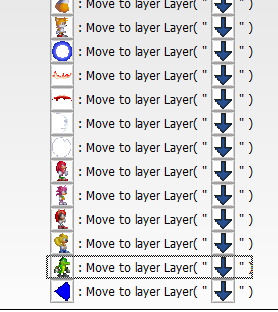
And move the skin.
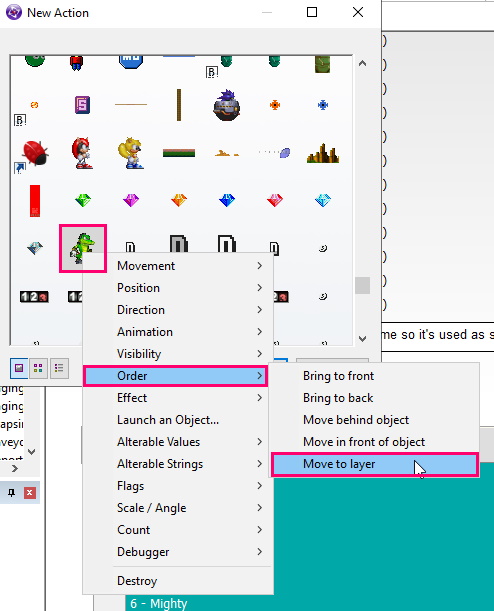
On the same layer where the object is located Player_StartingPoint (the starting position of the player).
Set the attributes of the player.
Go down to Player -> Character Attributes. [Simple] Here, for convenience, we will change the comment, adding your character, to the list.
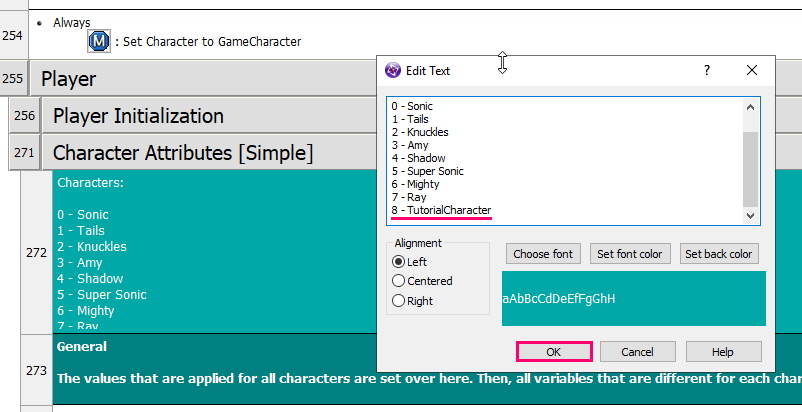
This list is a convenient reminder showing which number, for which skin is responsible.
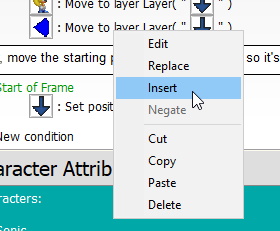
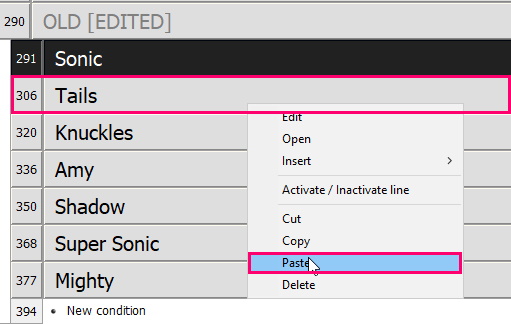
Go down a little lower. Now let’s make a duplicate of the group, copy the Sonic group.
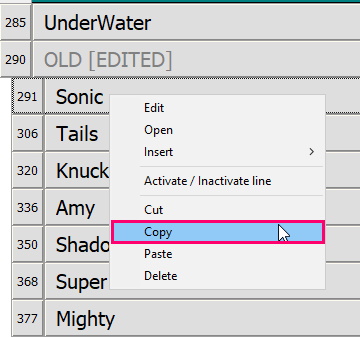
Hover over any other group, and click Insert.
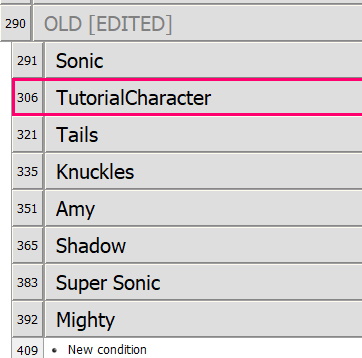
And call it the name of your character.
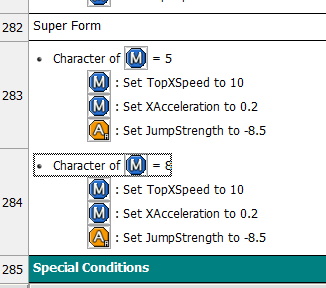
In the Character condition, replace with =8. So, if the Character variable in the object M is equal to 8, then do something. Above, in the comment, we agreed that the number 8 is responsible for the character we created.
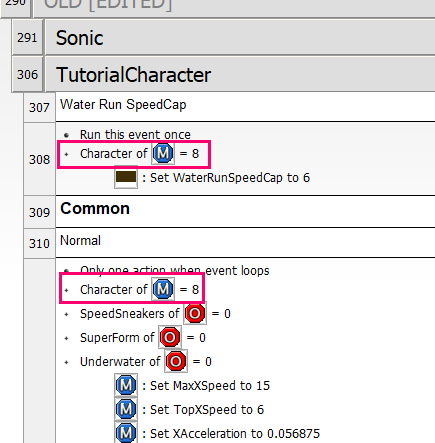
Here, too, you can change speed of the player, the height of the jump, etc. Thereby making a unique character.
Next, go a little higher.
Duplicate the condition after the Super Form comment.
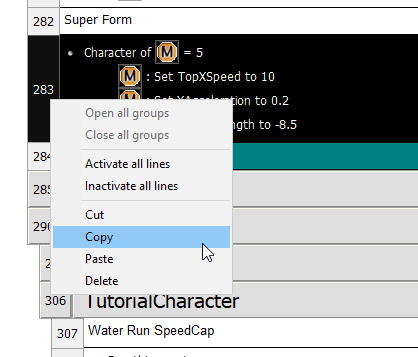
And set Character = 8.
Moving the skin to the player’s coordinates.
Now, go to the Reposition Skin group, which can be found on the following path.
Player -> Player Animation -> Reposition Skin
And equate the coordinates of the skin of the x-axis to the coordinates of the object M.
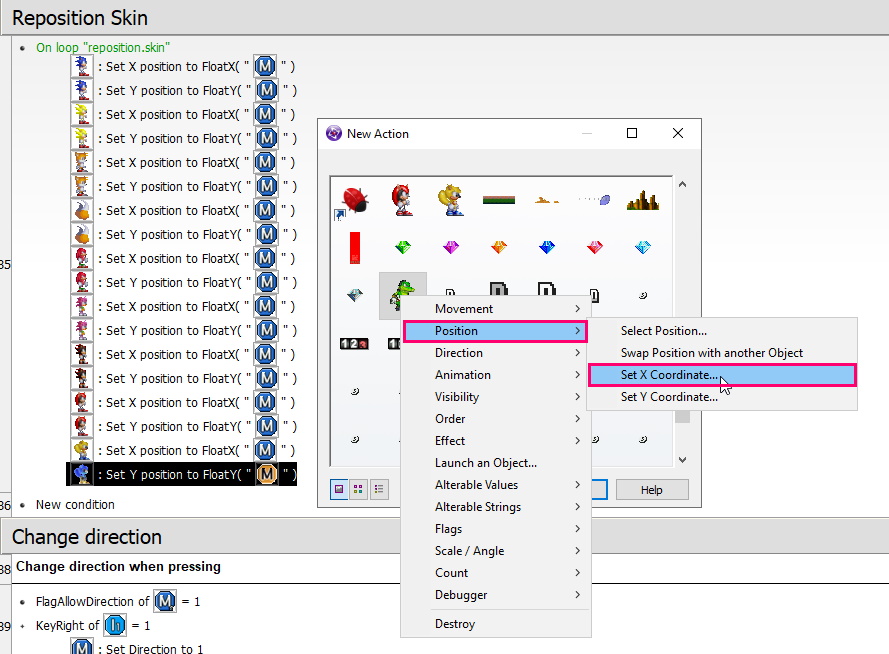
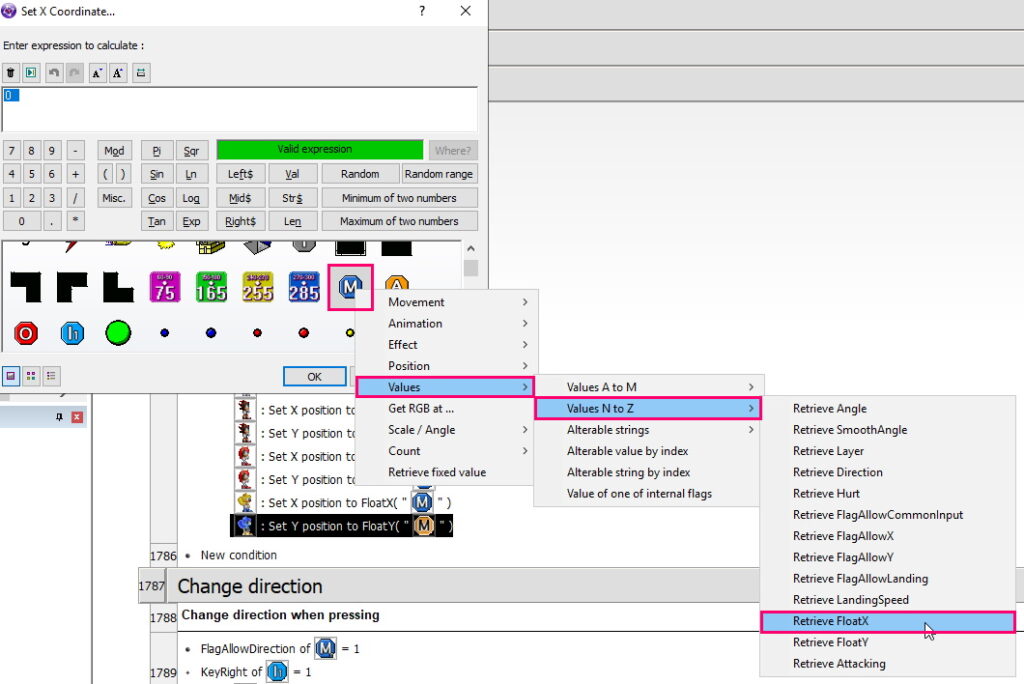
With the Y-axis,by analogy.

Change the direction of the skin.
We go down to Change Direction, a long this path.
Player -> Player Animation -> Change Direction
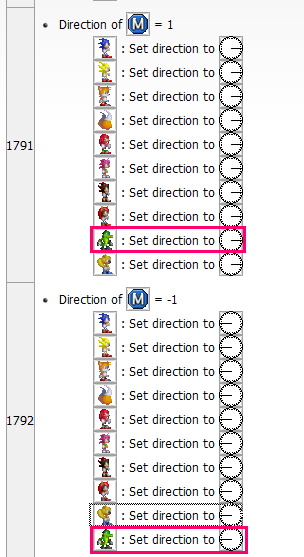
Here we set the direction of the skin.
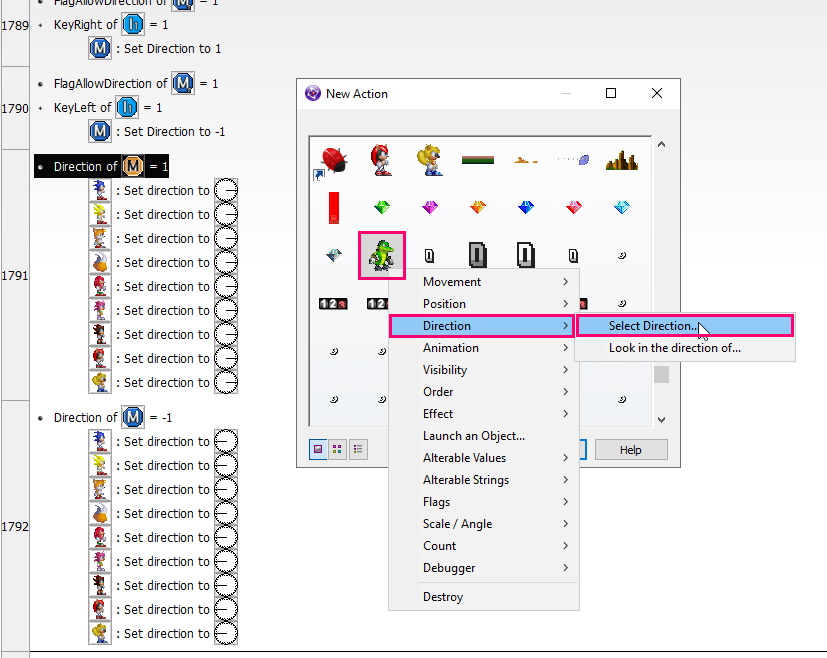
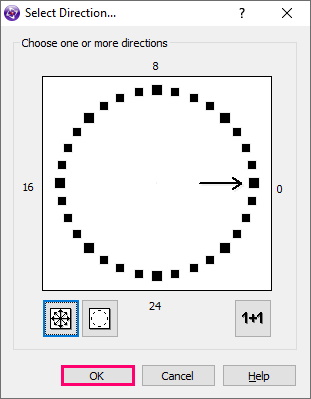
For the reverse direction, do the same.
Change the animation.
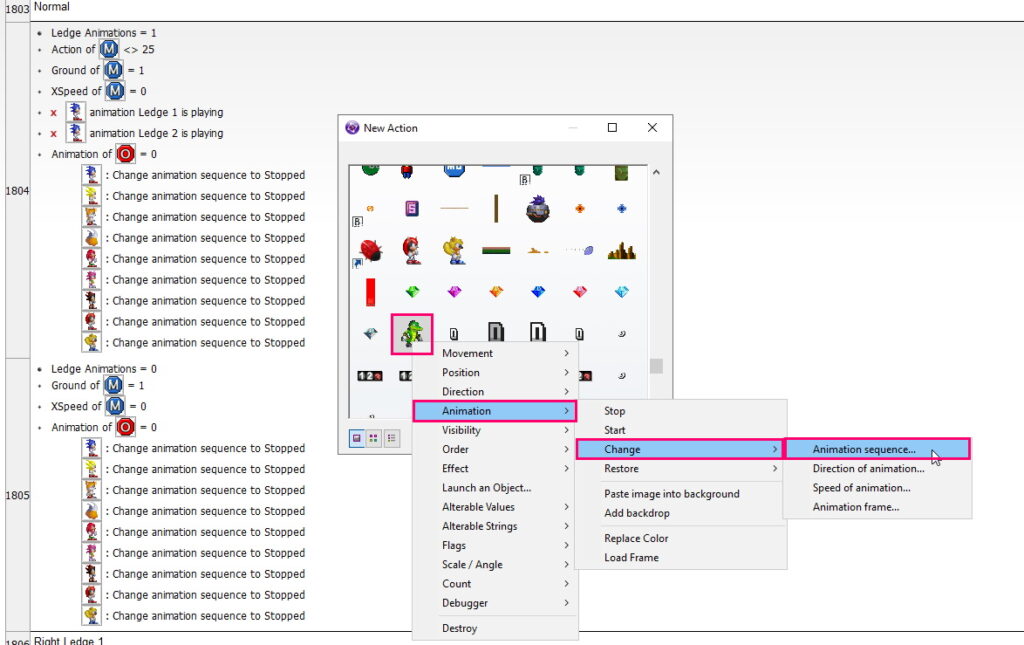
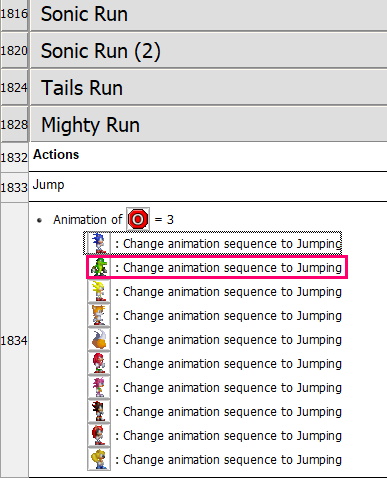
Next is the animation block, which correlates the skin animations with the engine. Below, I showed you how to change the animation of a character.
A little lower, there is a condition of playing the animation of the run. Duplicate the Sonic Run group.
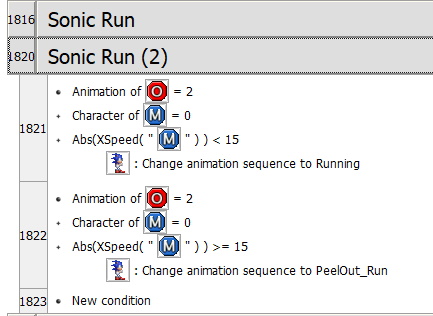
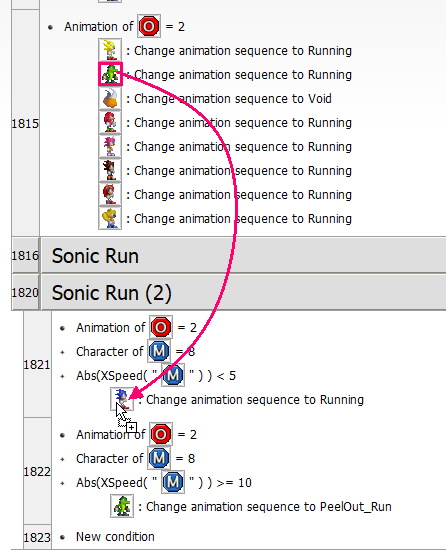
Of course, in the condition of Change Animation, we turn to our skin. By dragging the icon from another command, you can reassign the action object.
Rename it. Change the condition check to Character = 8.
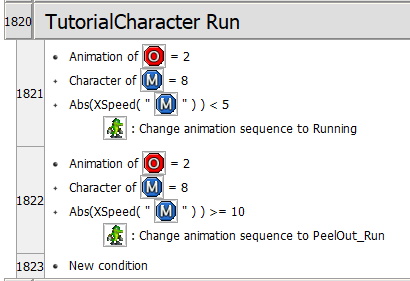
And then there is the hard copy-paste, which I warned about earlier.
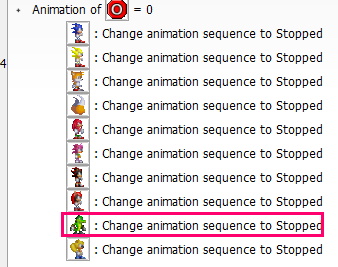
Insert change Animation sequence, for all blocks of Animation of.
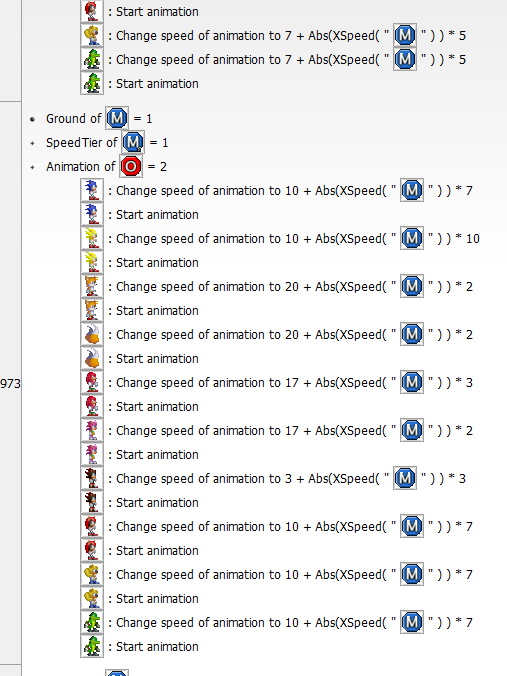
Change the speed of animation.
Next, go down to the Change Animation Speedgroup. This group is responsible for the speed of the animation.
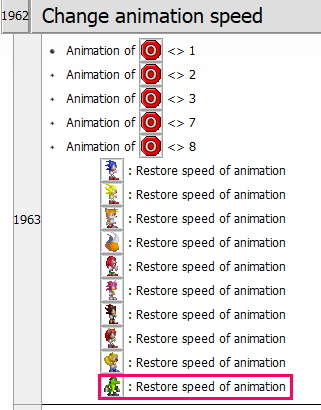
Add command according to the instructions below.

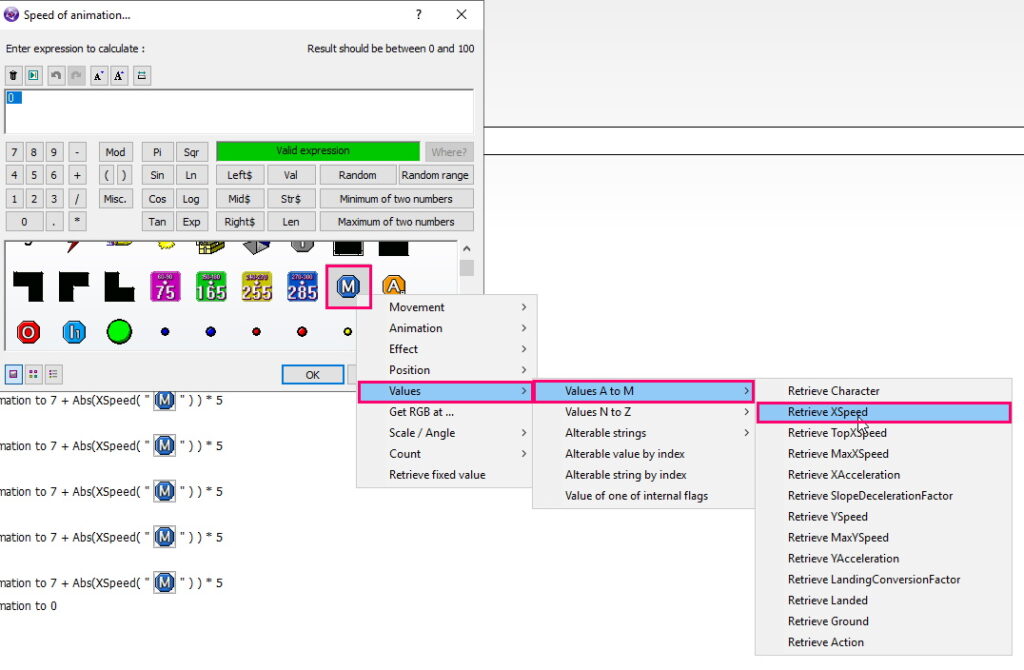
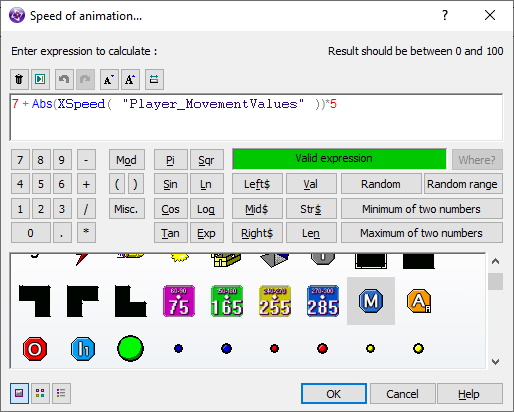
In general, here we correlate the speed of the character and the speed of the animation. That is, if the player moves quickly, then the animation is quickly played.
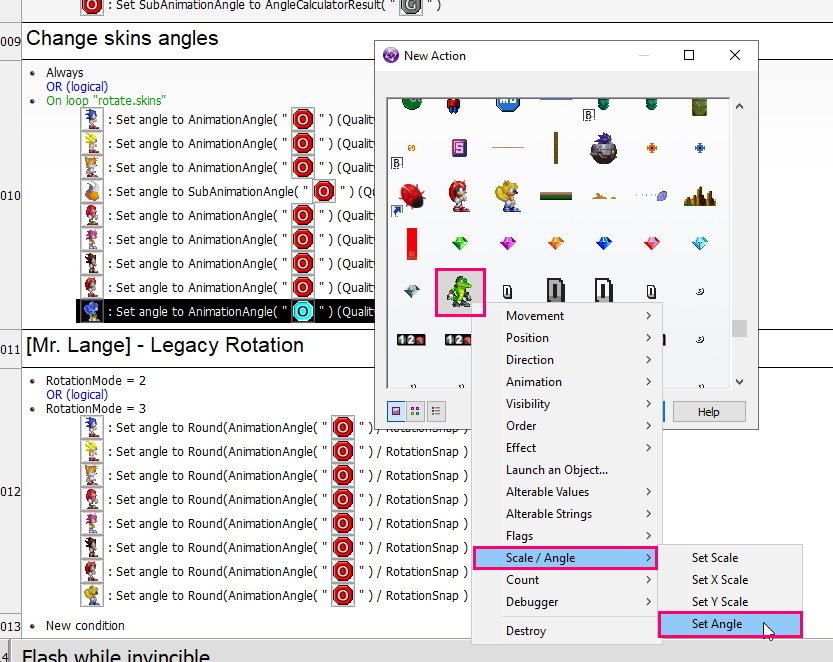
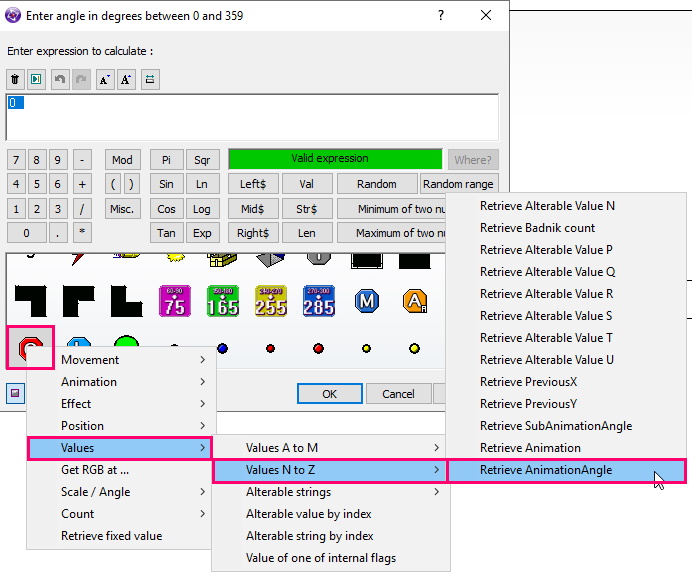
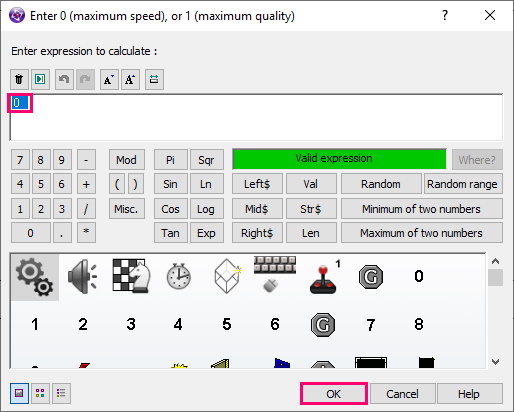
Turn the skin.
Go down to the Change Anglegroup. And equate the angle of the skin to the angle calculated by the engine.
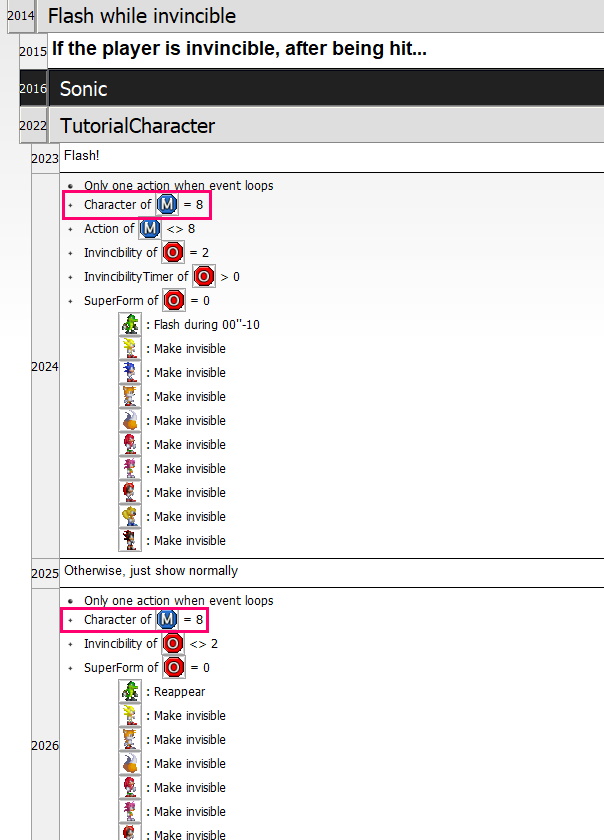
Next is the Group Flash while invincible (Flash while immortal). Create a duplicate of the Sonicgroup, and name it, the name of your character. In the duplicate, replace Character with the desired one.
Congratulations, the character is created. However, it cannot be selected from the main menu, because it is not added there. Let’s fix it.
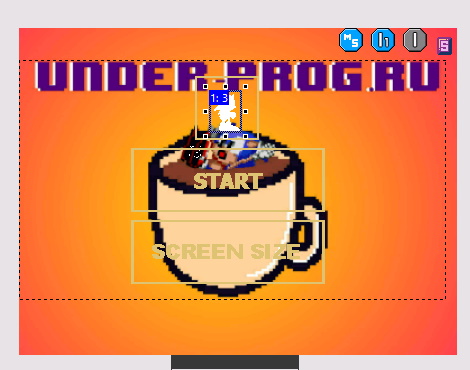
Add a character to Character Select.
Open the Character Select level and double-click the CharSelec object.
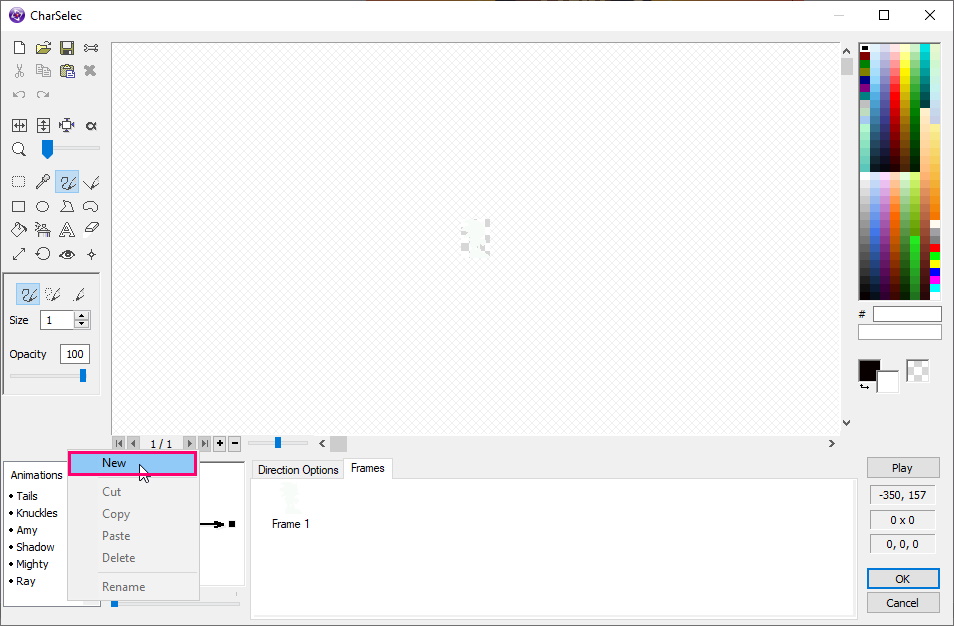
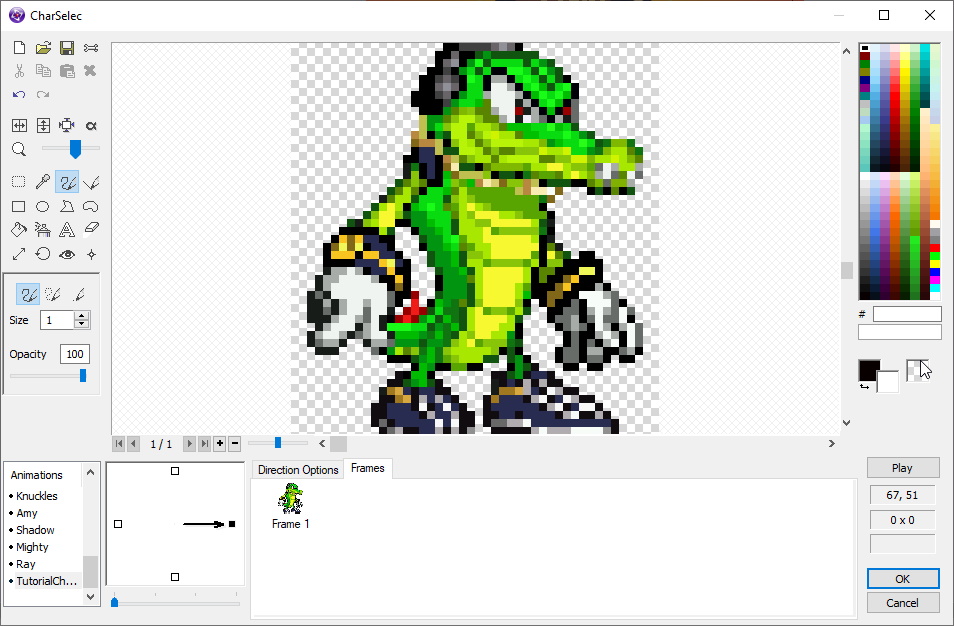
Create a new animation. It is this animation that will be played in the frame, when choosing your character.
After that, go to the Object Interation -> Object [00]group. And create a new condition there, if GameCharacter = 8,then we play the animation of your character.
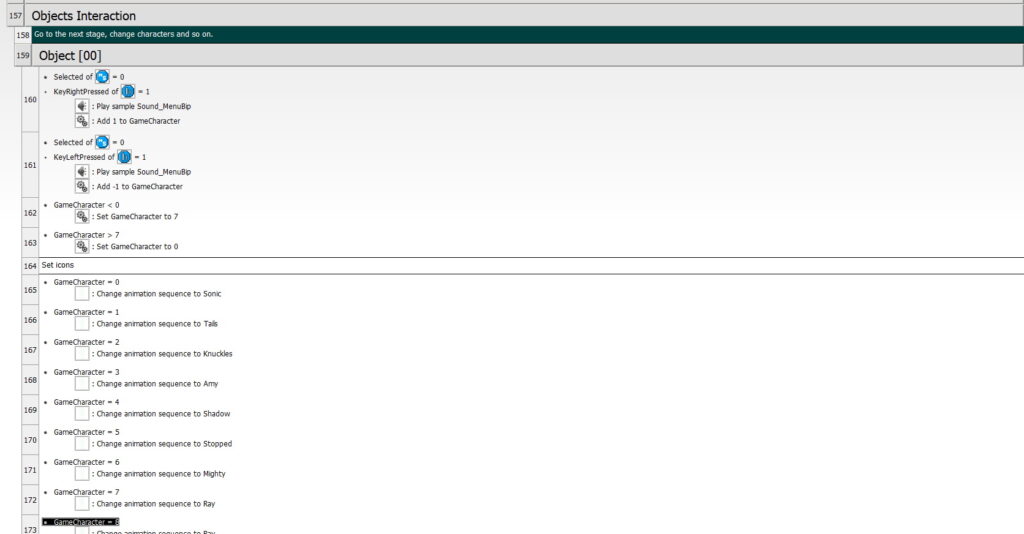

Also, fix GameCharacter.

Done, now the character is in the game.
Final result.