
 by
by We prepare the scene.
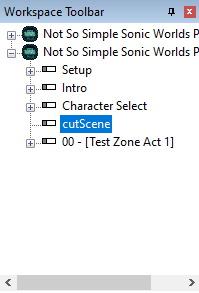
Create a new frame,in it will be our cutscenes.
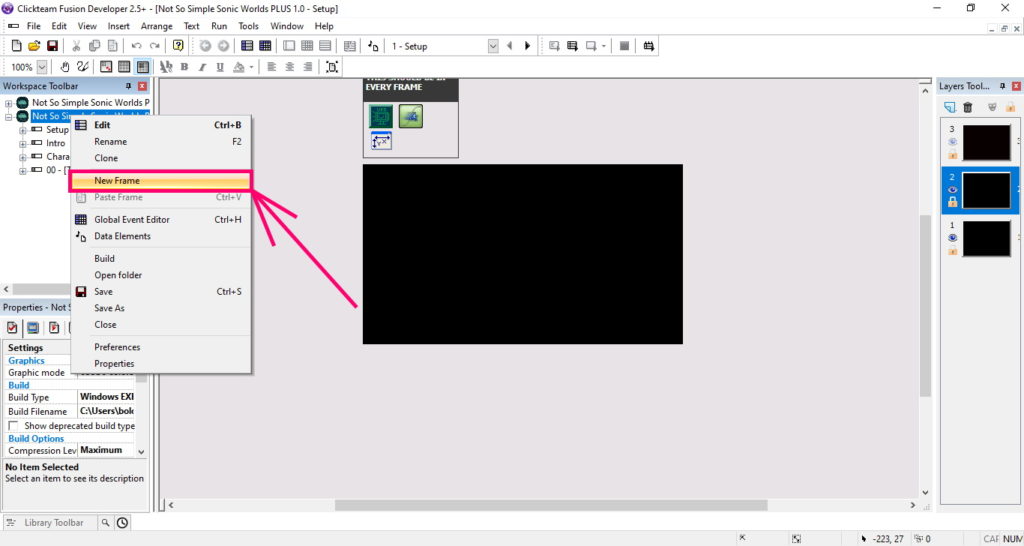
Place this frame after "Character Select"
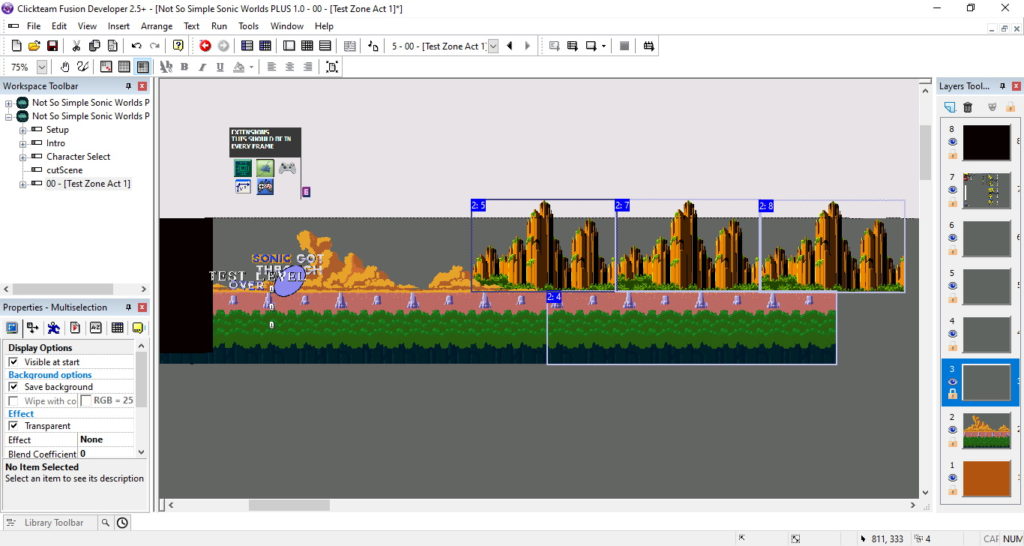
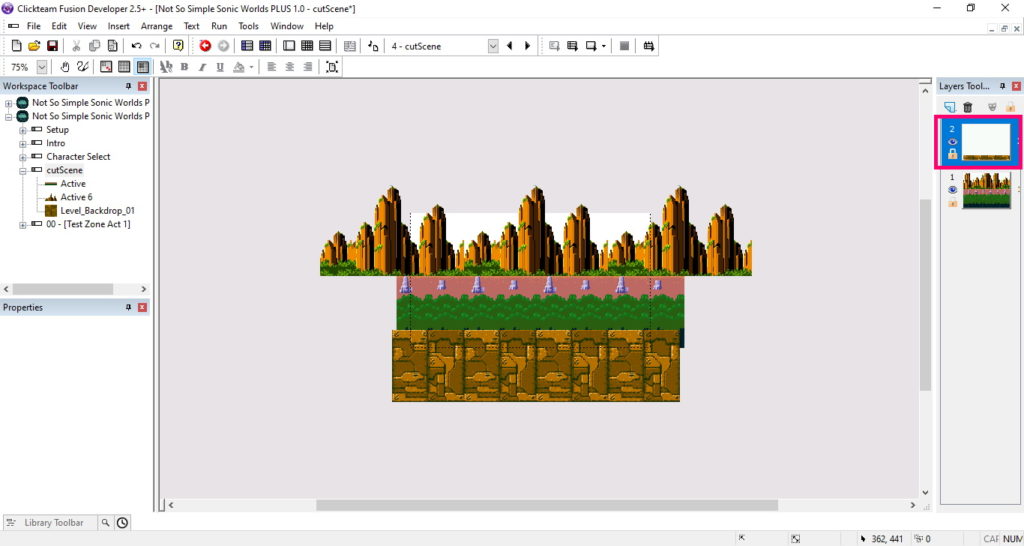
Let's take resources from the level.
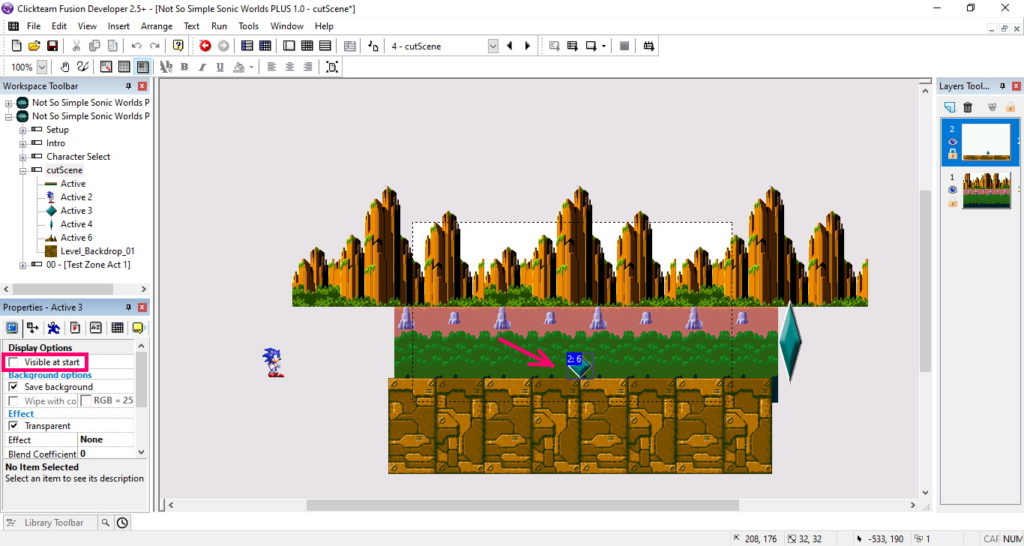
And, put on 1 layer of our stage. On this layer, there will be a background.
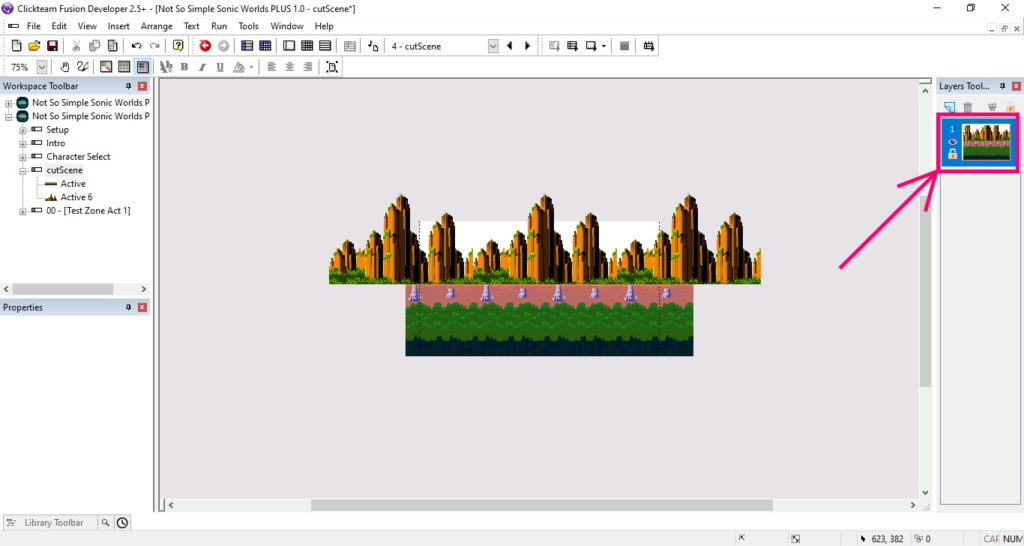
Now, create a new layer. It will house objects.
And draw the floor.
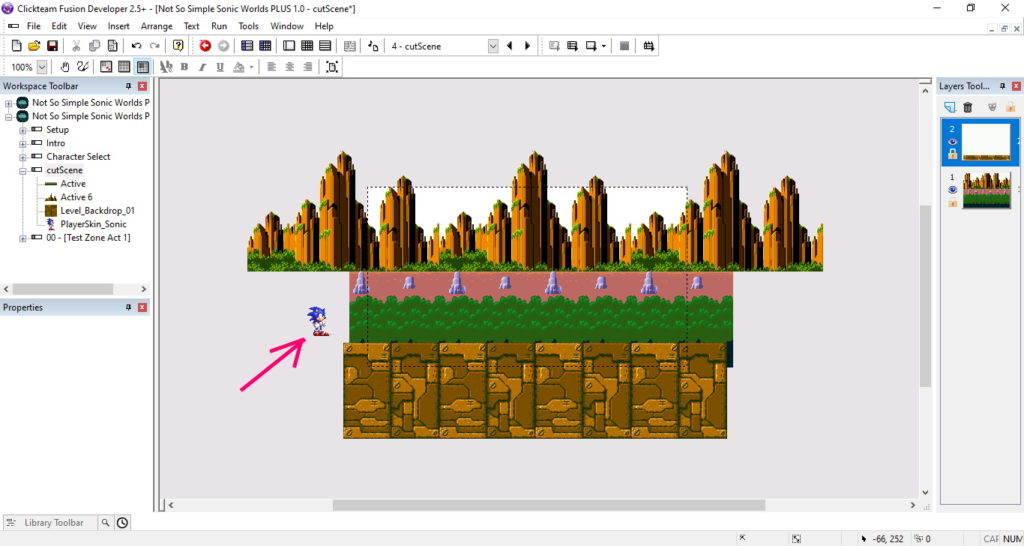
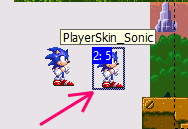
Copy the sonic object from the level (we will need it to extract sprites).
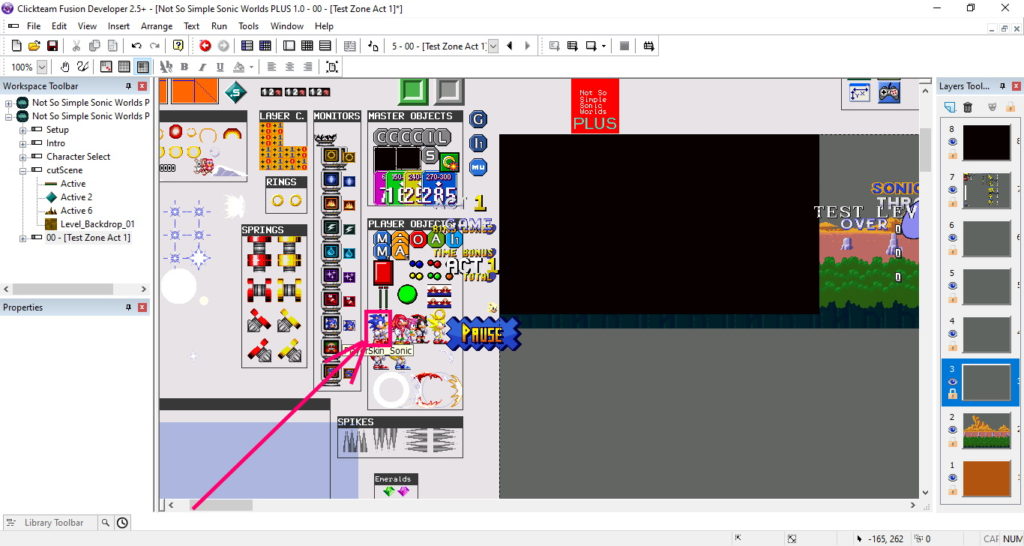
And put it on the 2nd layer of our stage.
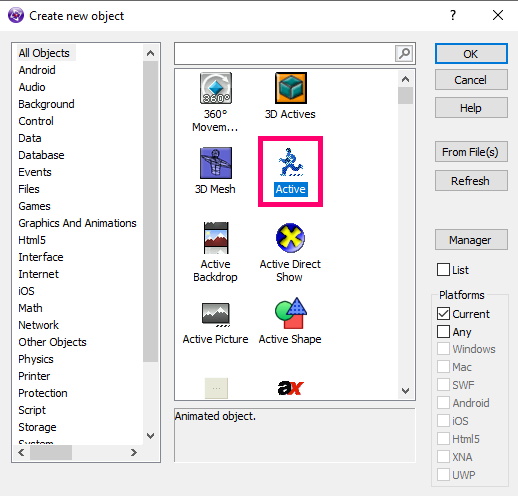
Double-click on the unoccupied frame location. In the window that appears, select Active.
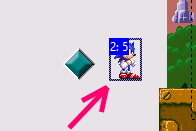
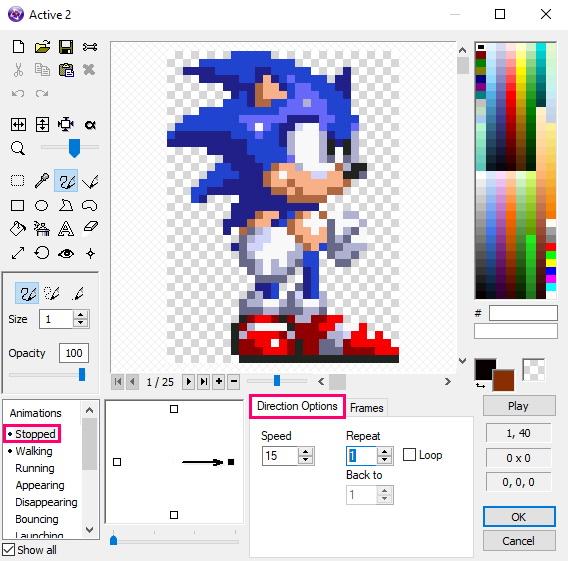
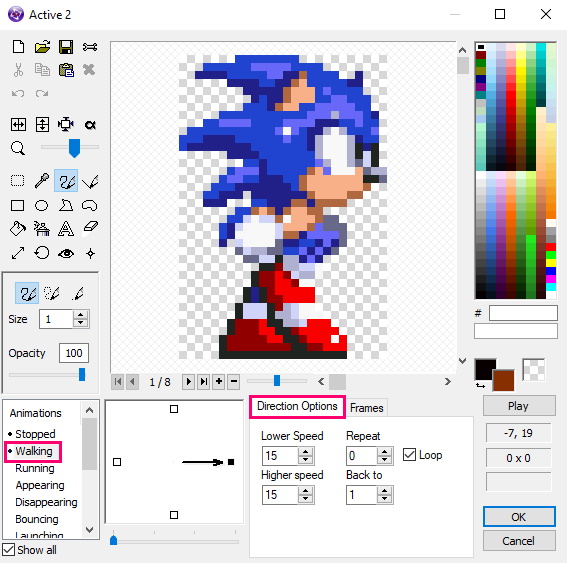
Double-click on the sonic.
The Sonic object has many animations (Stopped, Walking, Running…). We are only interested in Stopped and Running. Copy these animations from the Sonicobject to your new active object.
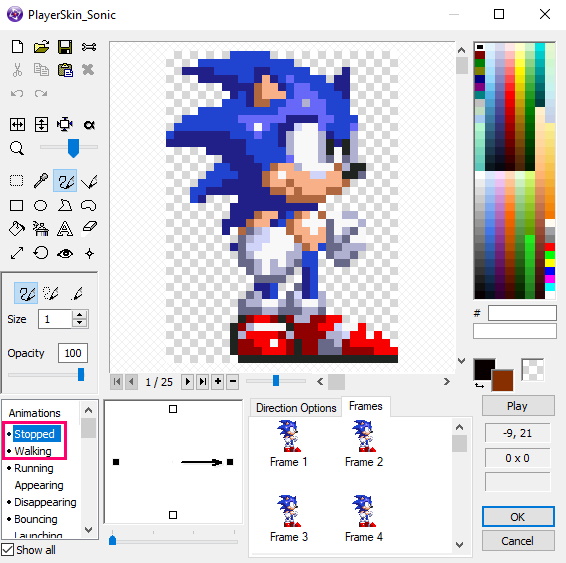
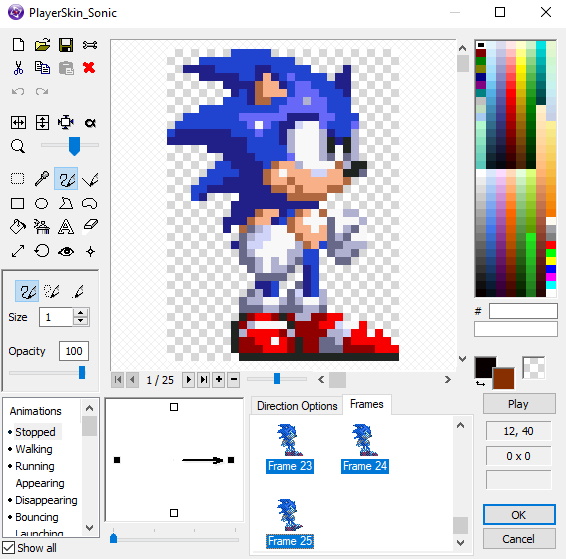
The animation was copied, now the Sonic object is not needed, it can be deleted.
Do not forget to adjust the animation speed in your active object.
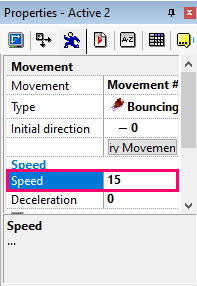
Now let's revive our active object. To do this, click PKM on Sonic,and select "Properties". In the "Properties" window, click "Movement". Next, in the Typecolumn, select "Bouncing Ball".
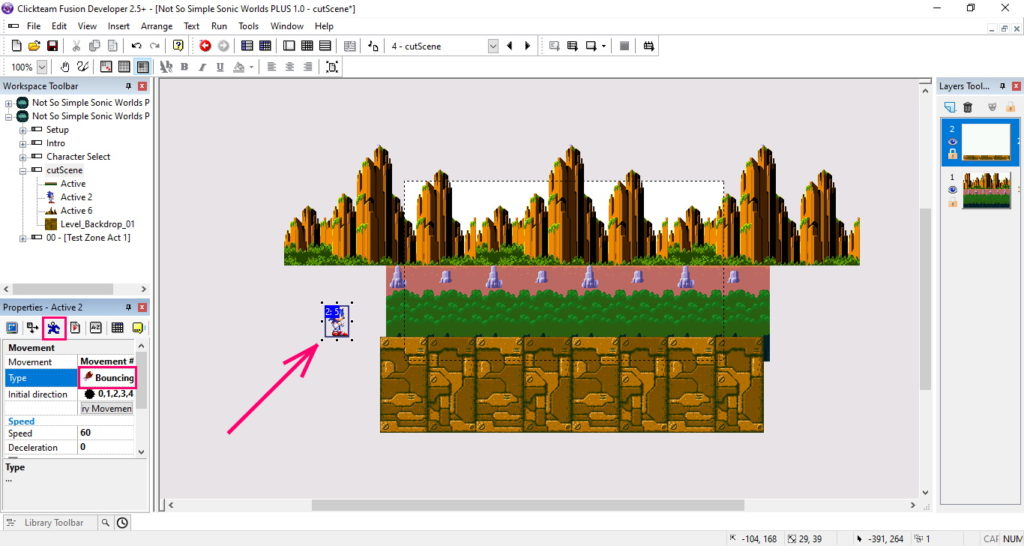
In the column "Initial direction" specify the direction in which the character will move.
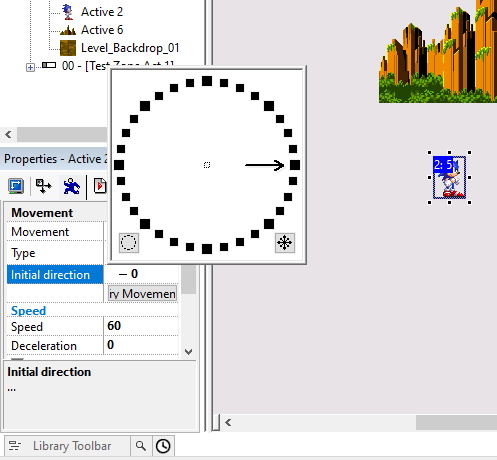
Also, specify the speed of movement.
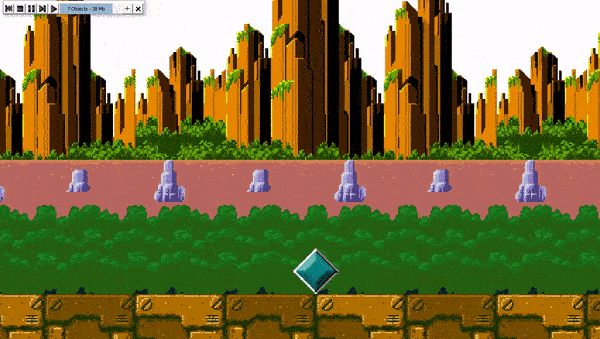
Now, if you run (F7button), you get such an animation (on the GIF it is fixated, but in reality, the sonic appears and leaves forever).

Now, let's improve the scene by adding a bit of logic to it.
According to the idea, the sonic should pass to the middle of the screen, stop, and go further, after which, the next level will begin. As a result,it should be:
Add logic.
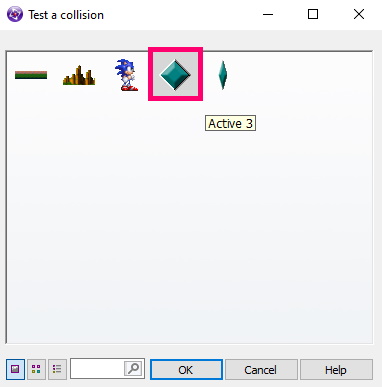
So, let's get started. To get started, create 2 active objects.
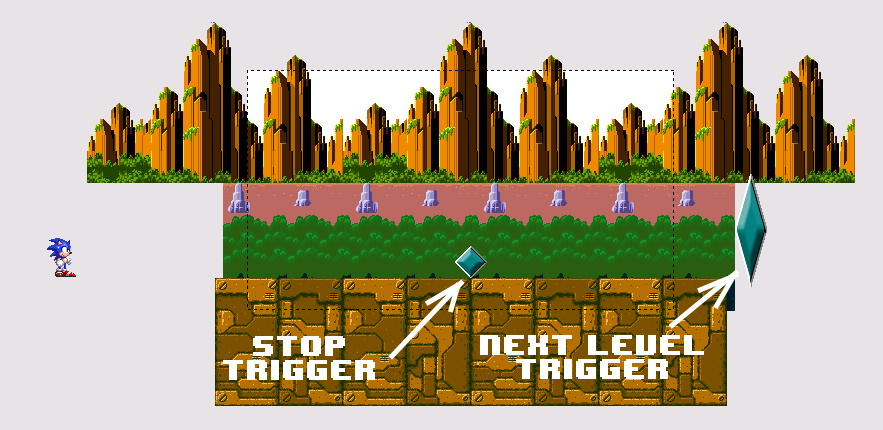
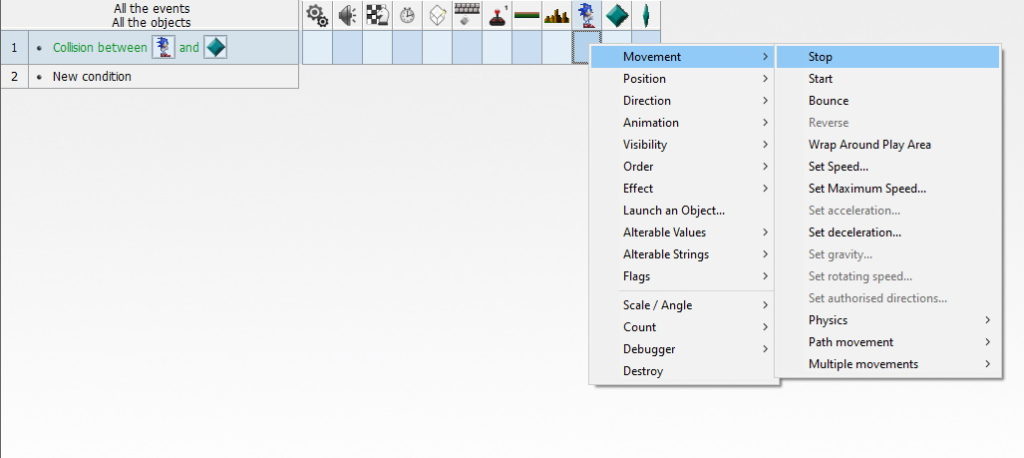
Let's make sure that when confronted with(Stop Trigger),the character stops. And when confronted with(Next Level Trigger),the transition to the next frame was carried out. To do this, go to event editor (Ctrl+E). And set the condition that checks the collision of the sonicwith the Stop Trigger.

At the sonic,specify the action – stop movement (Movement -> Stop). Thus, if the sonic encounters a Stop Trigger,it will stop its movement.
Next, we specify the condition of the collision. To do this, click PKM on the condition, and press Insert.
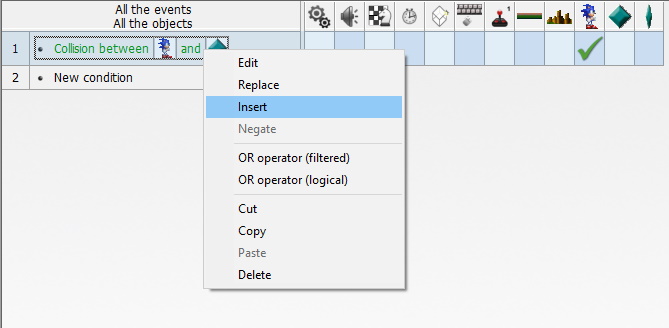
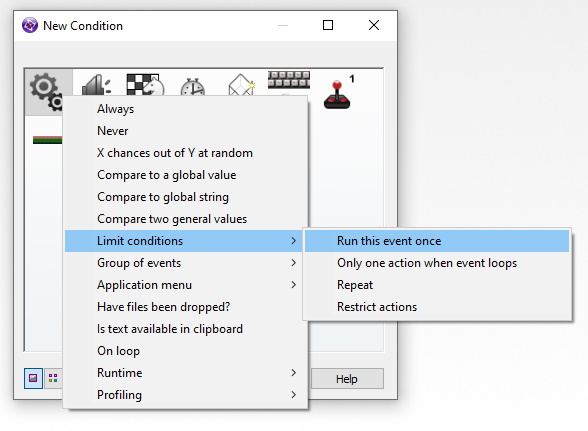
And we point out that the collision check will occur only 1 time.
When confronted with Stop Trigger,the sonic stands still for a while and then goes on. So, this time is regulated by a timer. In the timer column, press PKM,and select Fire event after given delay.
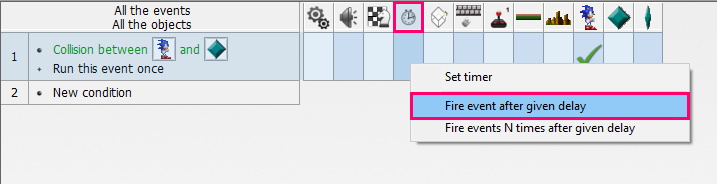
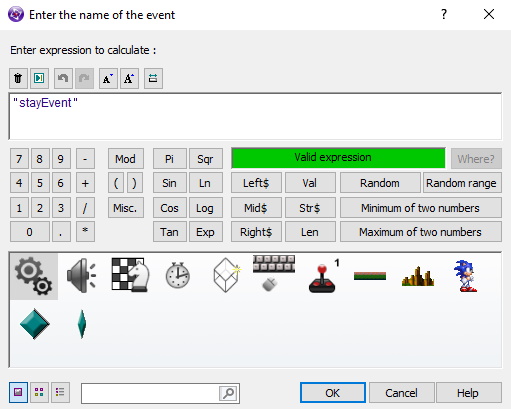
Specify the name of the timer.
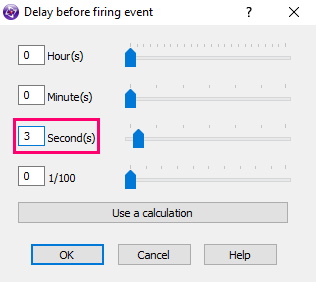
And put a delay of 3 seconds.
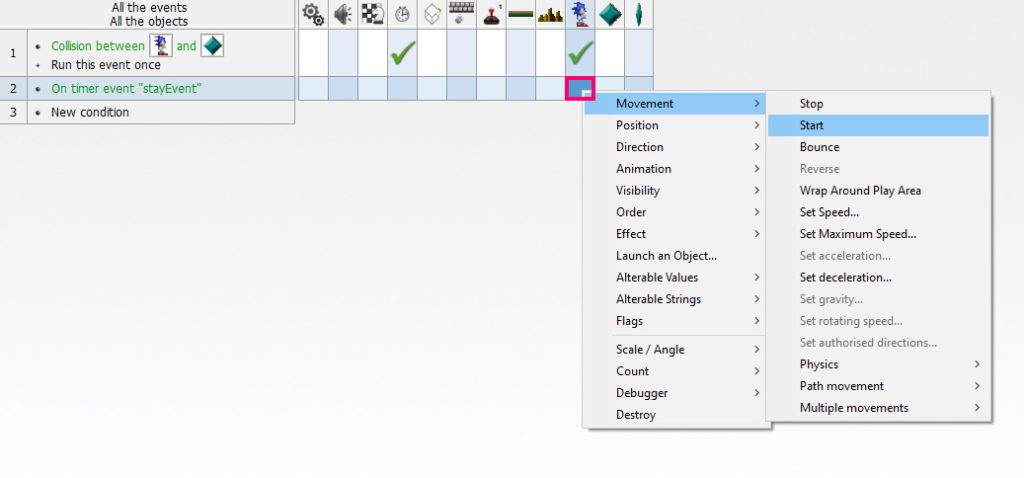
In fact, we just created a timer that after 3 seconds, starts shouting its name "stayEvent" to other timers (creates an event). Therefore, you can bind the action to the stayEventevent. Now, let's process our event. To do this, create the condition"On event",at the timer.
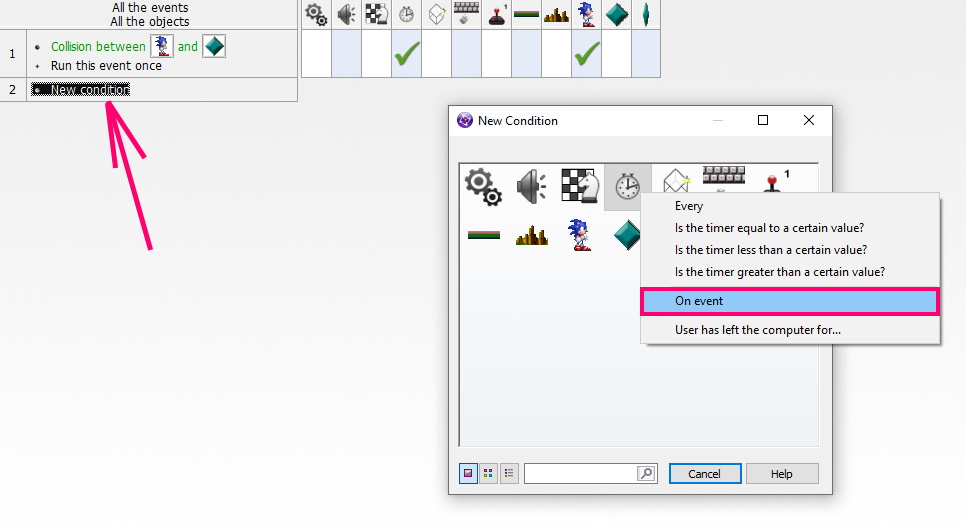
And please indicate the name of our event.

And let's make sure that the Sonic continues its movement(Movement -> Start).
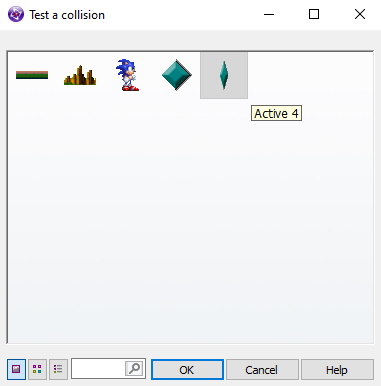
Let's add a condition. when confronted with "Next Level Trigger"
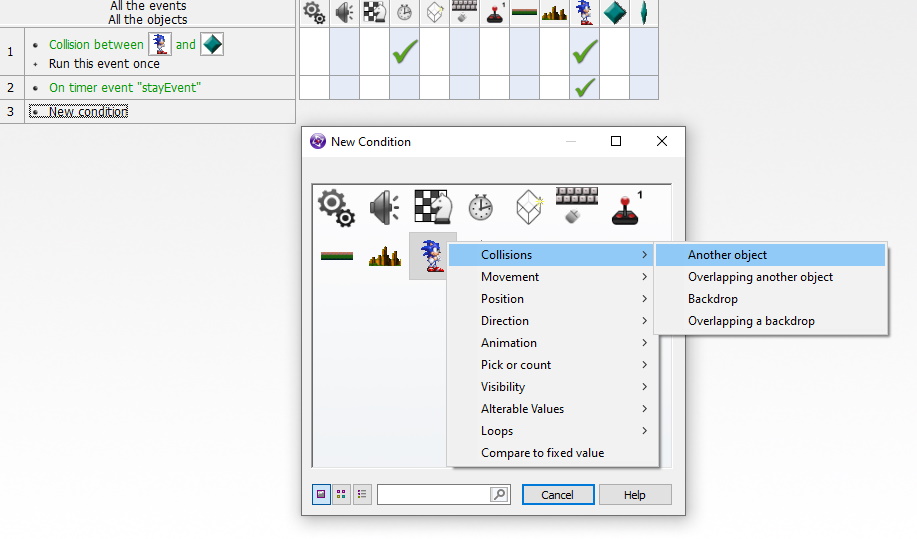
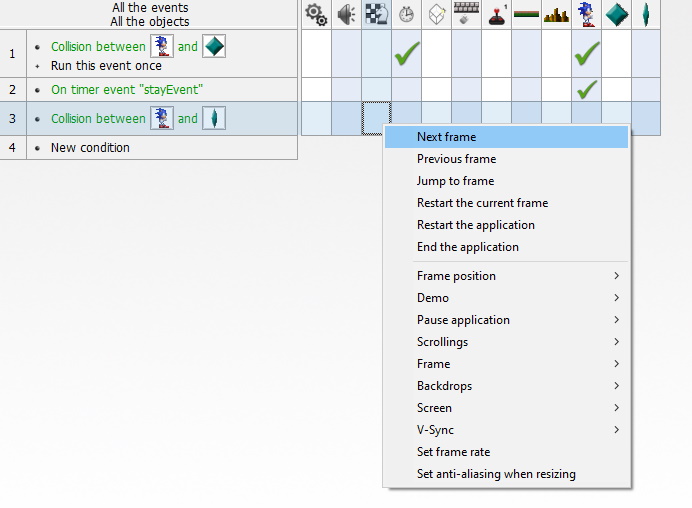
The transition to the next frame is carried out (Next frame).
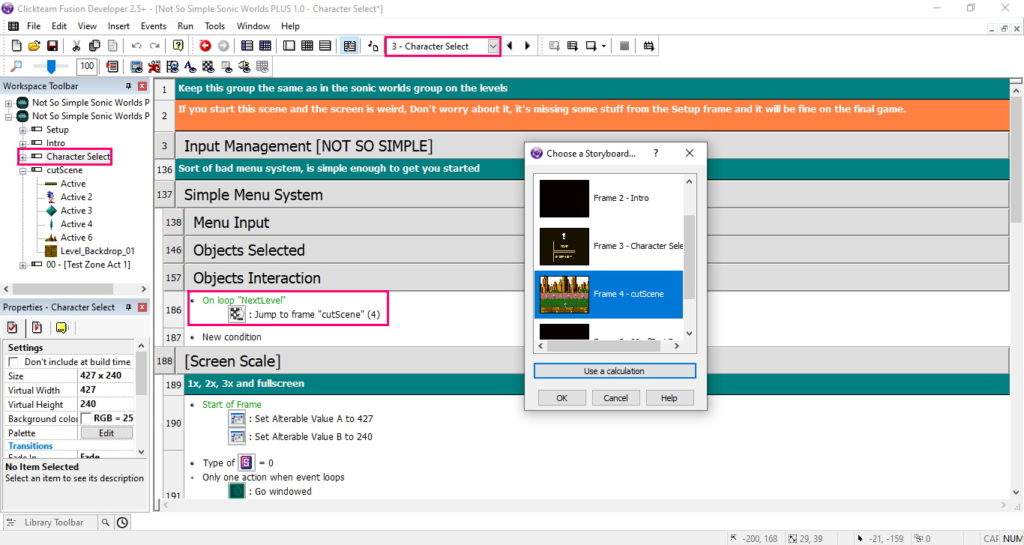
The scene is ready, it remains to make the transition to the scene frame from Character Select. How to do this, I explained in the lesson Sonic. Meet Not So Simple Sonic Worlds Plus (NSSSWP).
To make Stop Trigger invisible, remove the Visible at startflag in the object settings.
As a result, it turned out the following:
Final result