
 by
by Preface.
In this article, I will tell you about the best (in my opinion), level editor. It has everything you need to meet your needs, and even more. And now, briefly about the benefits.
- Super simple interface.
- Completely free and open source.
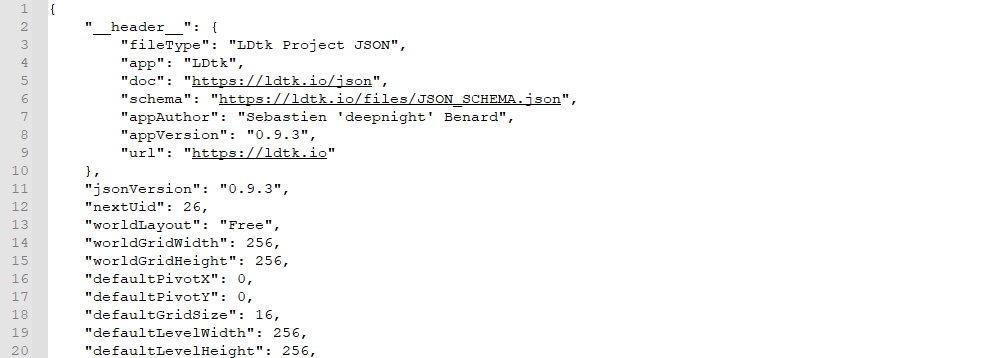
- Levels are saved in JSON format, which makes it easy to pull out the necessary data.
- Supports export to PNG, useful for SGDK.
- Supports export to tmx (Tiled format), which is supported by many engines.
- Advanced auto-tile system.
The editor developed Sébastien Benard, the creator of dead Cells, made this tool in Haxe language.
Now, let’s get down to business.
Create a map of tiles.
Download LDTK from the official website.
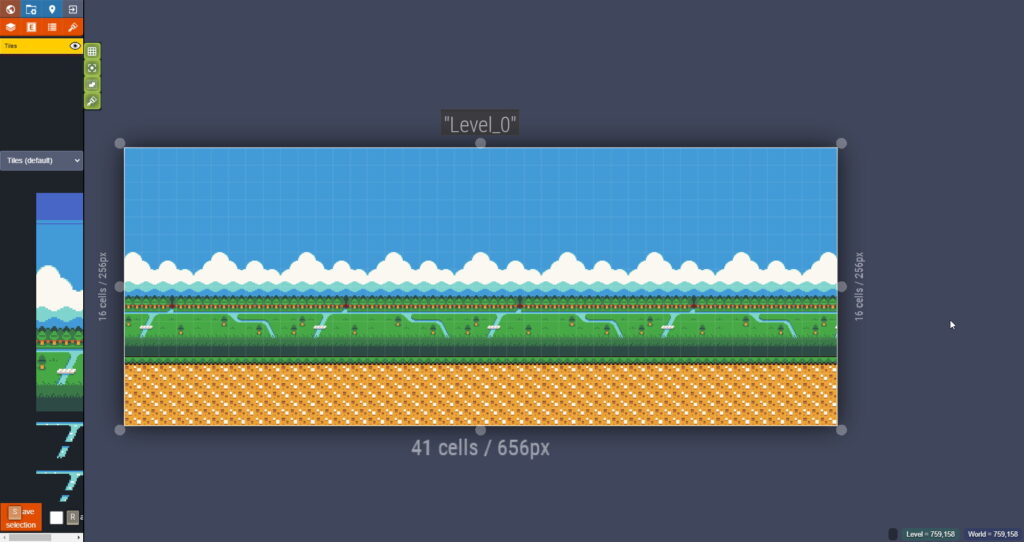
After you create a new project, you will see such a window.
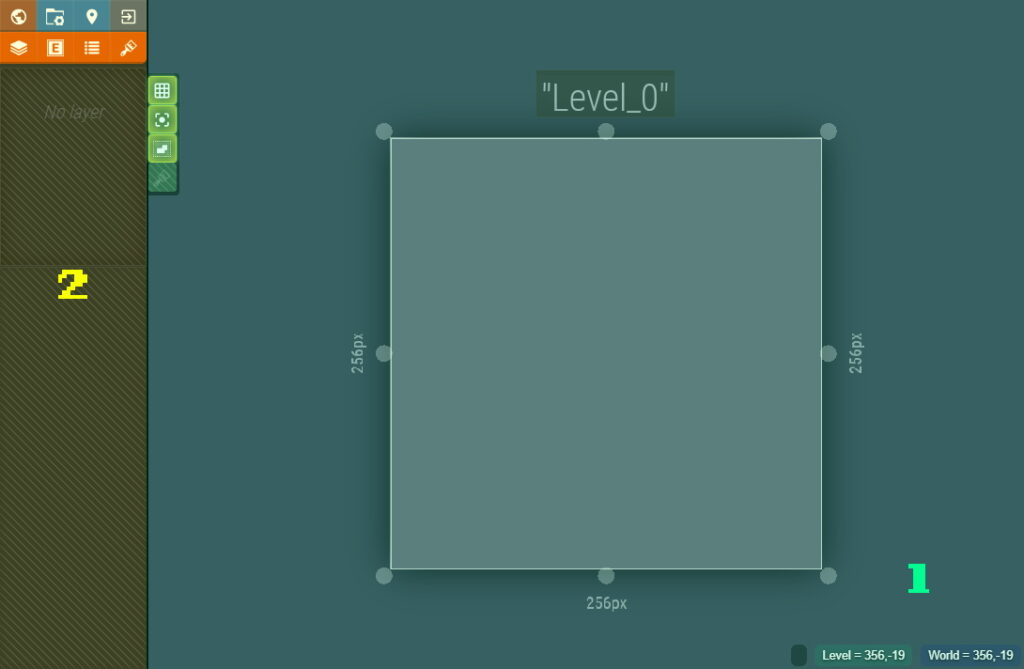
- On the left – layers are displayed
- Right – level map.
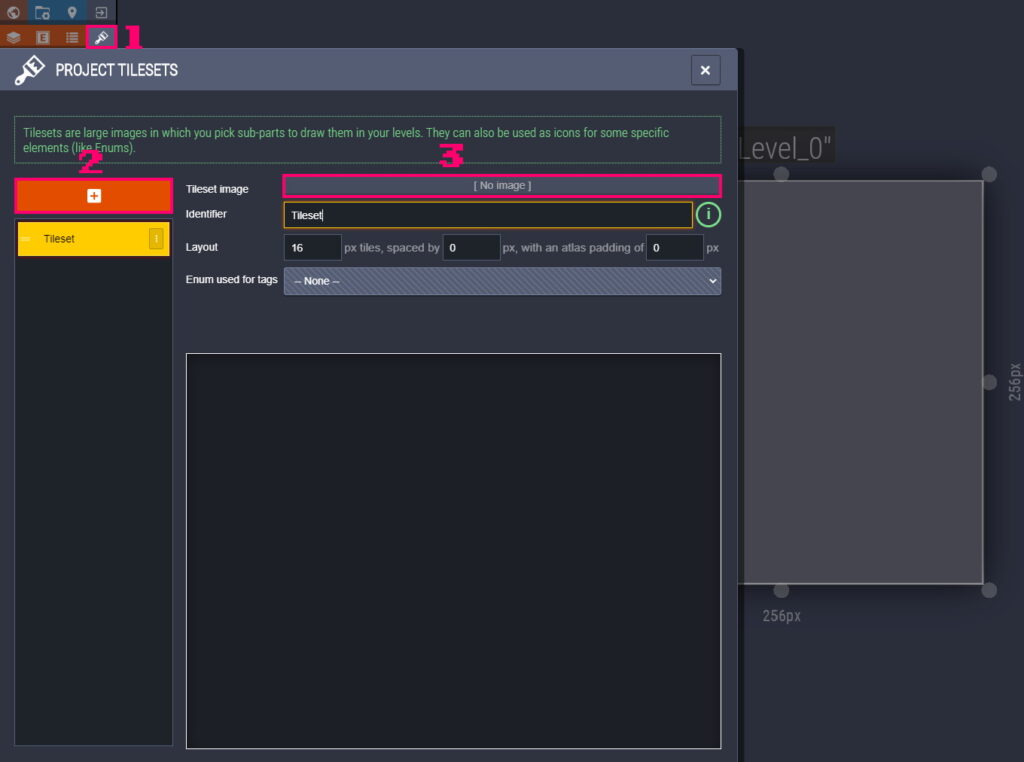
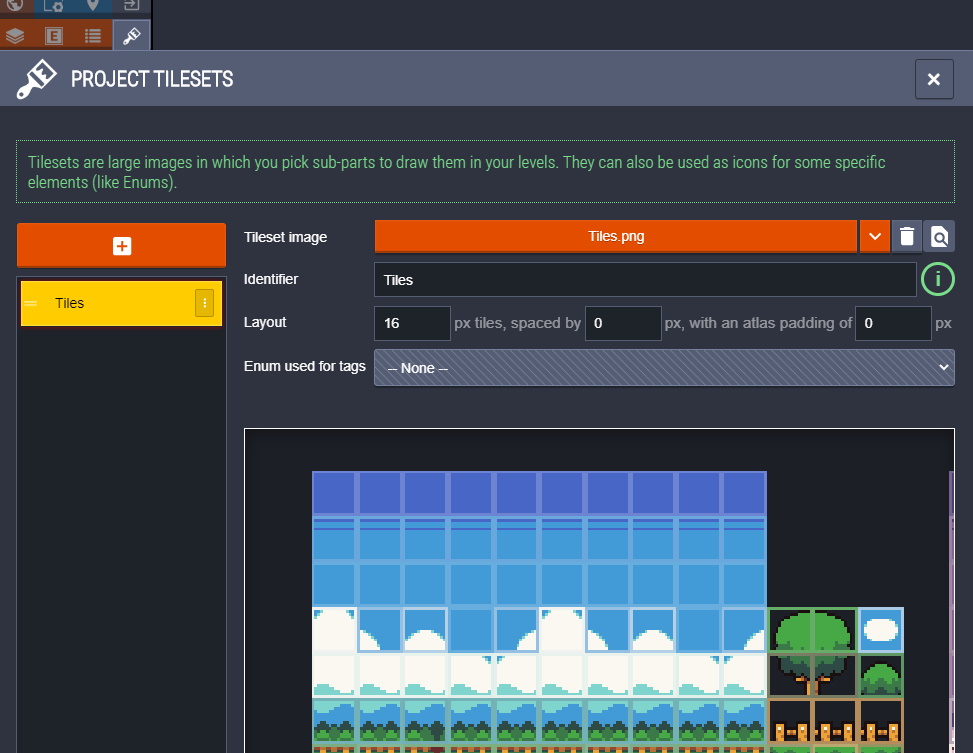
Now, download the tiles from here. And import them into LDTK.
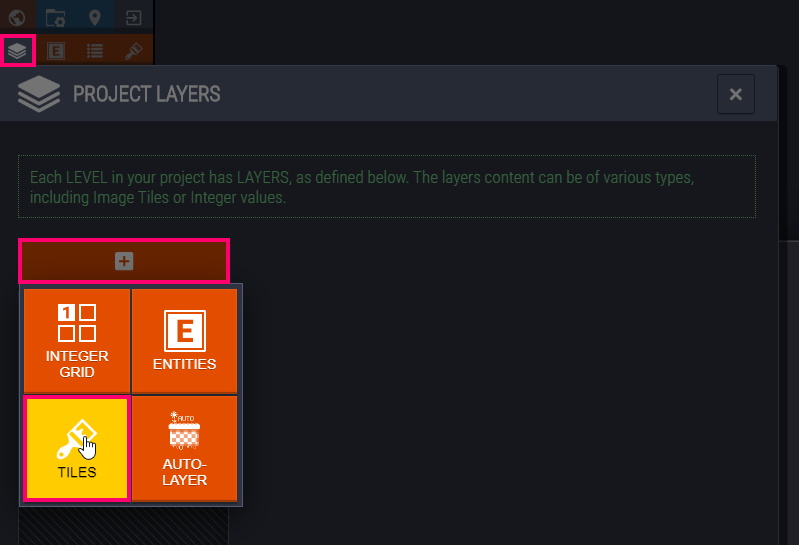
Now, create a new layer, and select the Types of Tiles.
And draw a map by selecting tiles from the left side of the screen.
By pressing the paintwork+SHIFT, you can paint over the tile area. RMB(Right Mouse Button)+SHIFT – on the contrary, removes the tile area.
Create a collision map.
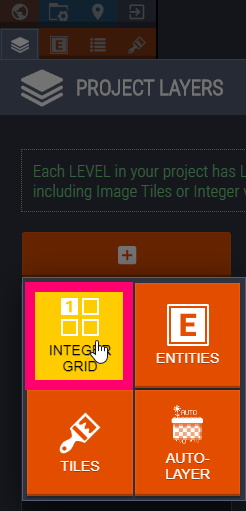
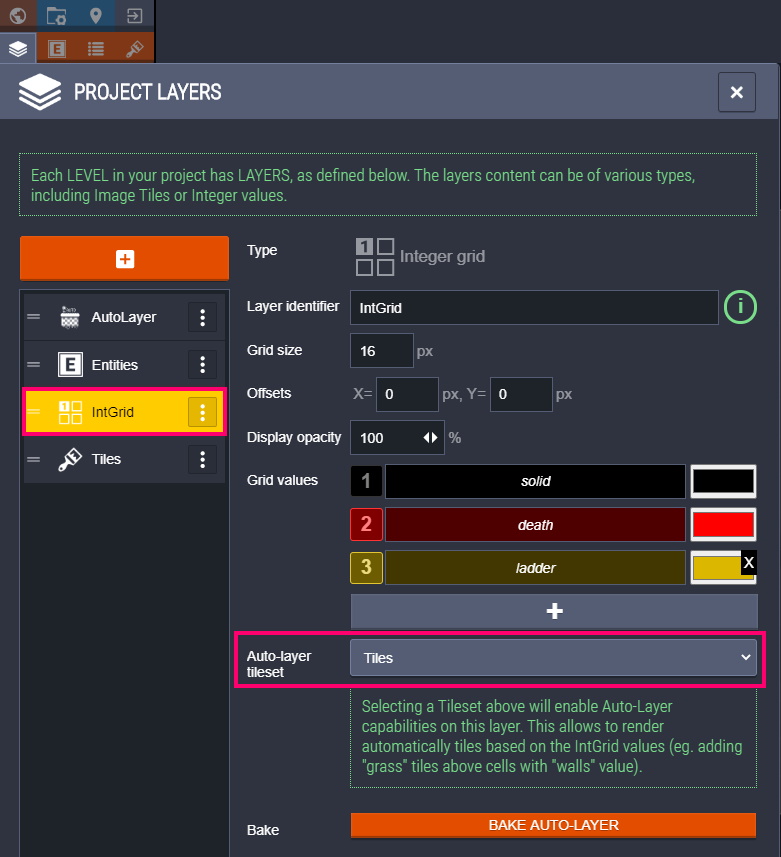
Create a new layer, and select the type INTEGER GRID. This layer, in the future, will be represented as an array of numbers.
In the Grid values graph, add new elements.
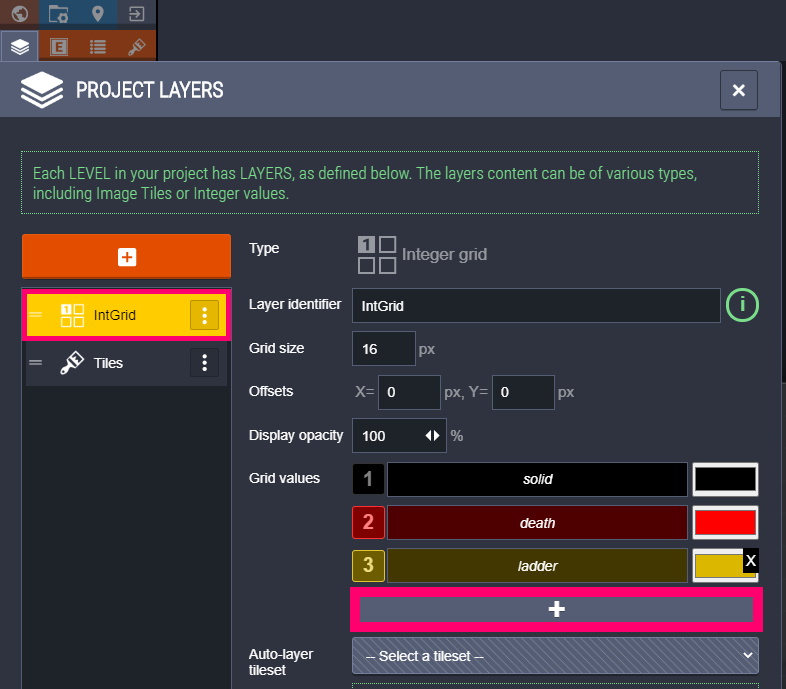
Each element has a color and a number.
- A number – what will be written to an array.
- Color – what we see in the editor.
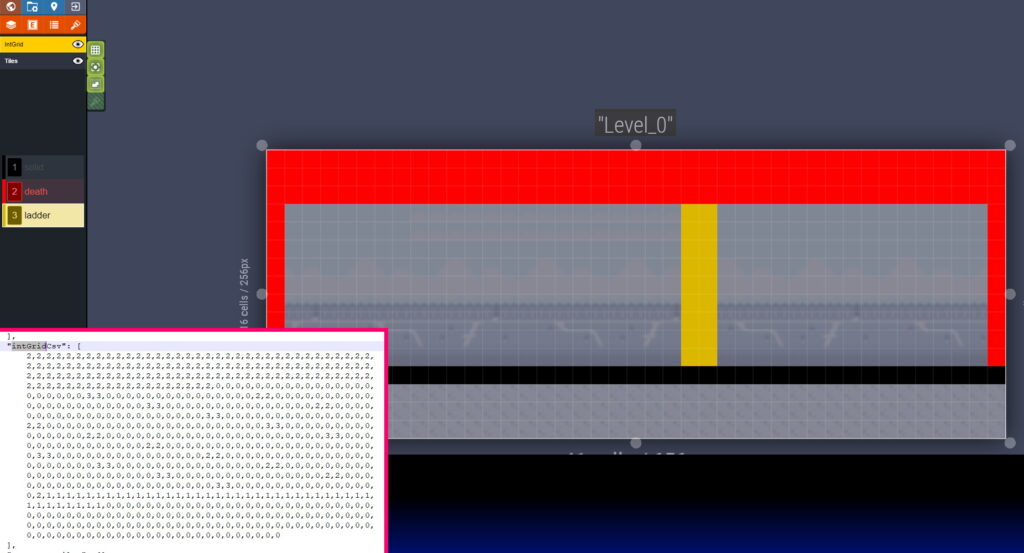
Draw a collision map, save, and open the ldtk project file in Notepad.
We see, beloved and familiar to all, JSON syntax.
By the keyword intGrid (the name of our layer), find the array of collisions.
Also, based on an array of collisions, you can put tiles.
We automate the process of applying tiles.
LDTK – supports a fairly powerful and at the same time simple, auto-tile toolkit.
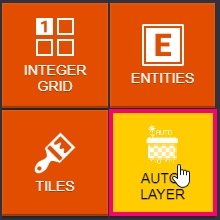
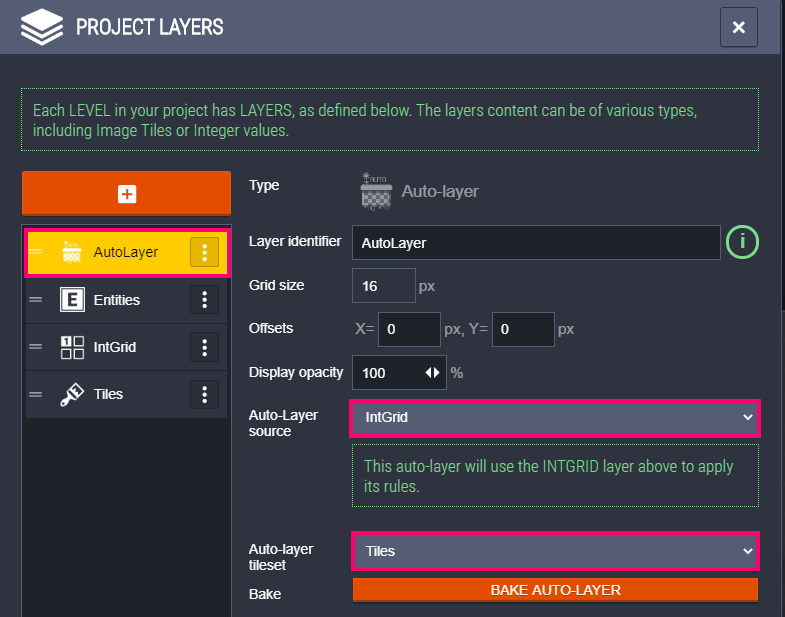
Create a new layer, and select the Auto Layer type.
Specify, the IntGrid collision array , and the tileset to use.
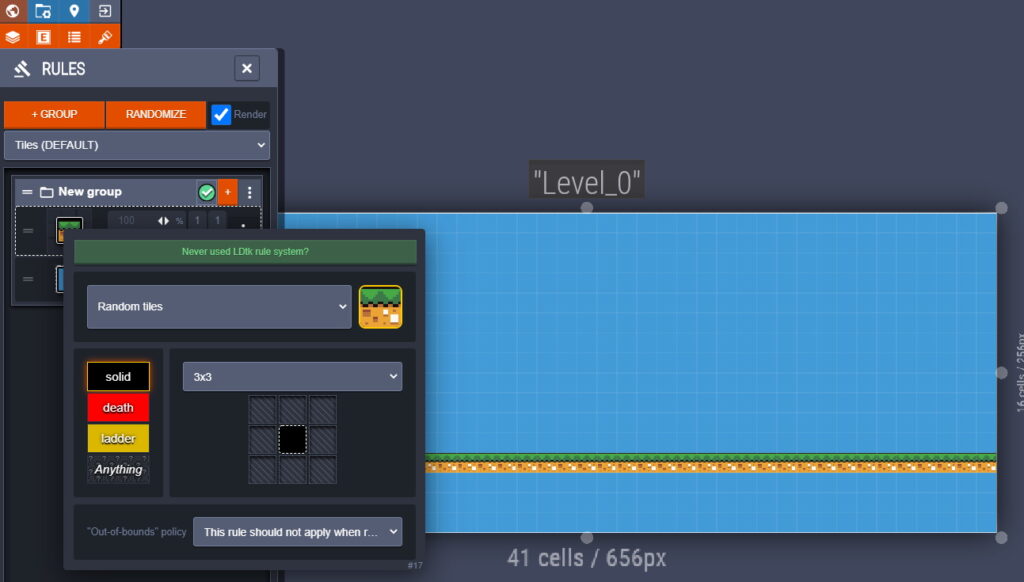
Now, let’s set the conditions for applying tiles.
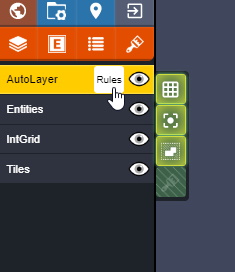
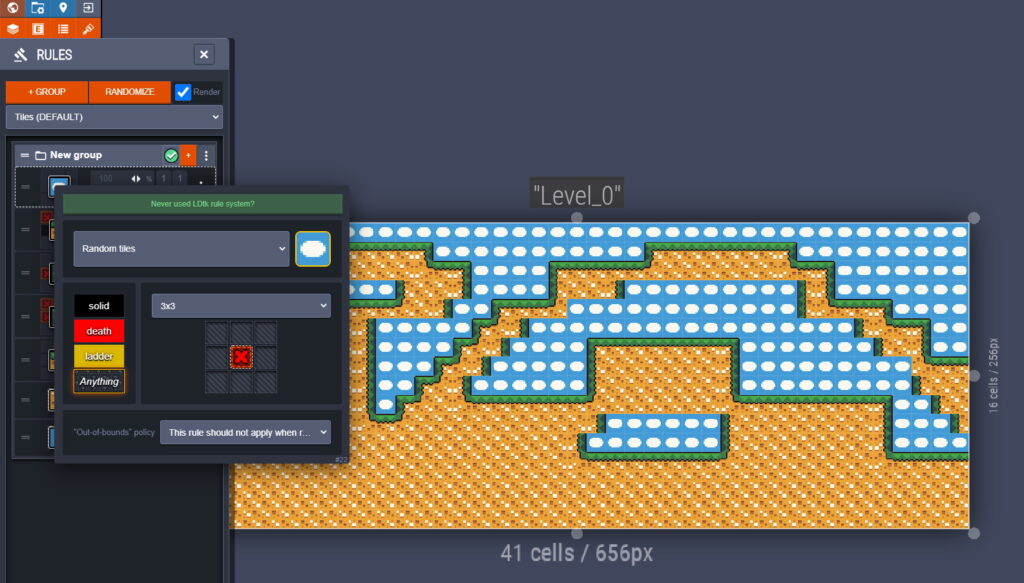
The conditions here are divided into groups, for the sake of convenience. Create a new group, and add a new rule there.
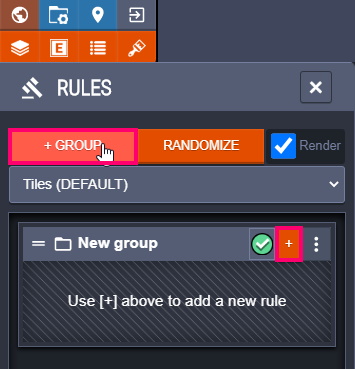
Choose a sky tile.
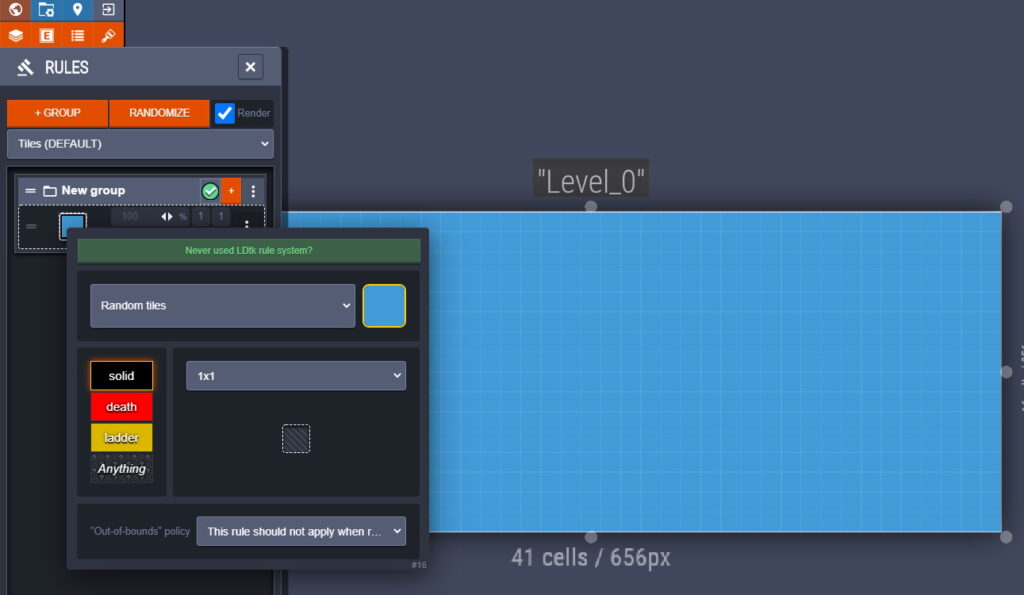
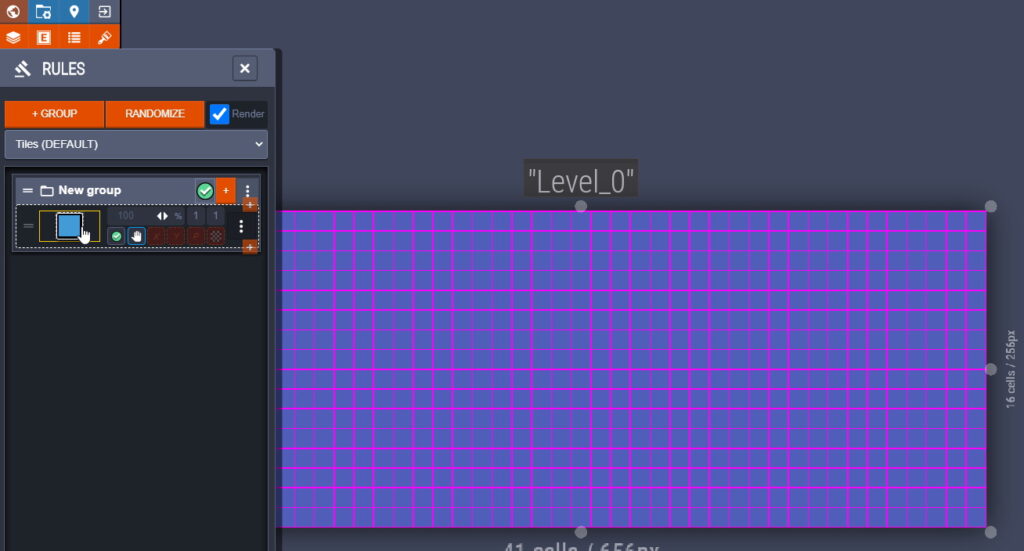
We have just created a condition under which all tiles are replaced by a sky tile. This is an empty condition, so the tiles are replaced anyway.
If you hone on the condition, the tiles will be highlighted.
Let’s create another condition, click on + again.
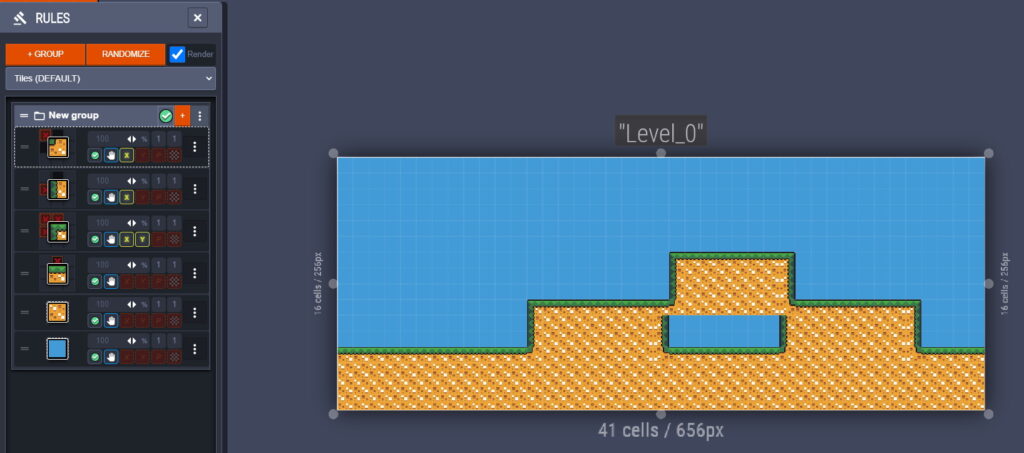
Pay attention to the grid, so much like a workbench menu from Minecraft. Here I pointed out that the ground tile will be put if it is solid (or 1,in the collision array). That is, if you change the array of collisions.
Then, the auto-tail time will change accordingly.
Tile in the center, the one that is dotted, this is the place where the tile will stand, if the condition is met. All the other cells are the tiles surrounding him. For example, consider the condition of the angular tile of the earth.
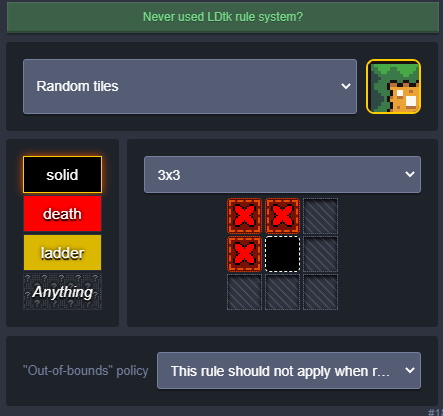
The condition NO tile,is set by RMB,whereas, the condition IS tile is set through by LMB.
Tile, put if: in the array of collisions is solid, and left, top, left-top tile – empty.
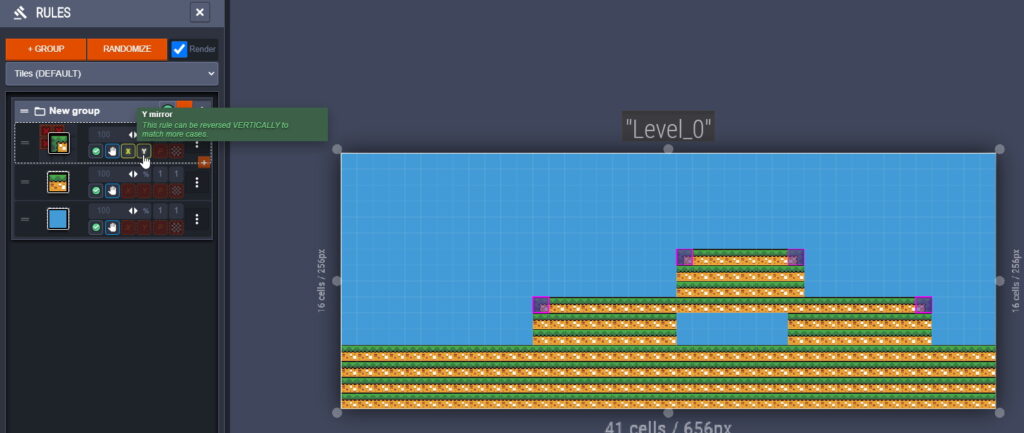
I repeated this condition vertically (X) and horizontally (Y).
I will not analyze the rest of the conditions, because they are made by analogy.
As you can see, auto-secret is a great investment, because setting its conditions now, you will save a lot of time in the future.
Also, the auto-secret can be installed directly in intGrid.
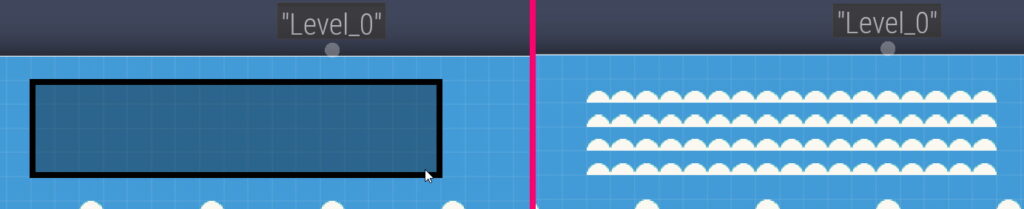
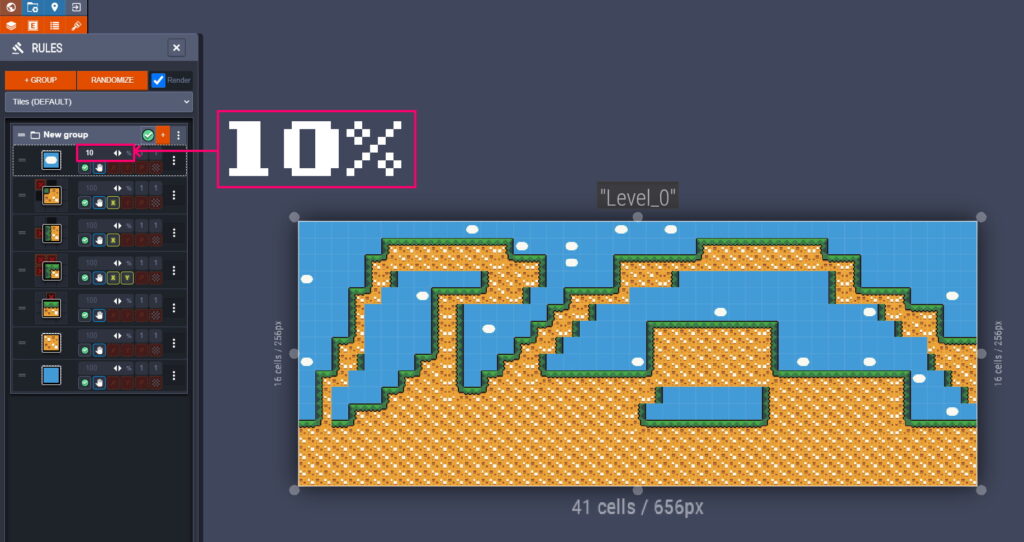
Now, let’s add clouds. Setting the condition under which the cloud tile is set if, the tile in the collision array is not occupied (equal to 0).
And reduce the number of clouds to 10%.
Add Entity.
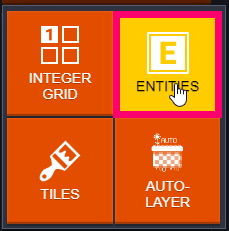
Create a new layer, select the Entities type
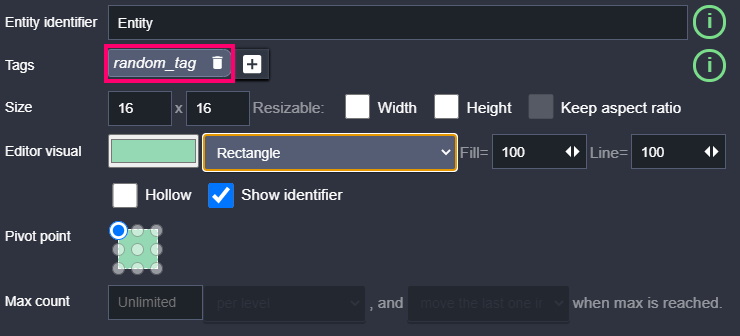
Click the Entities (F4) tab and create a new entity.
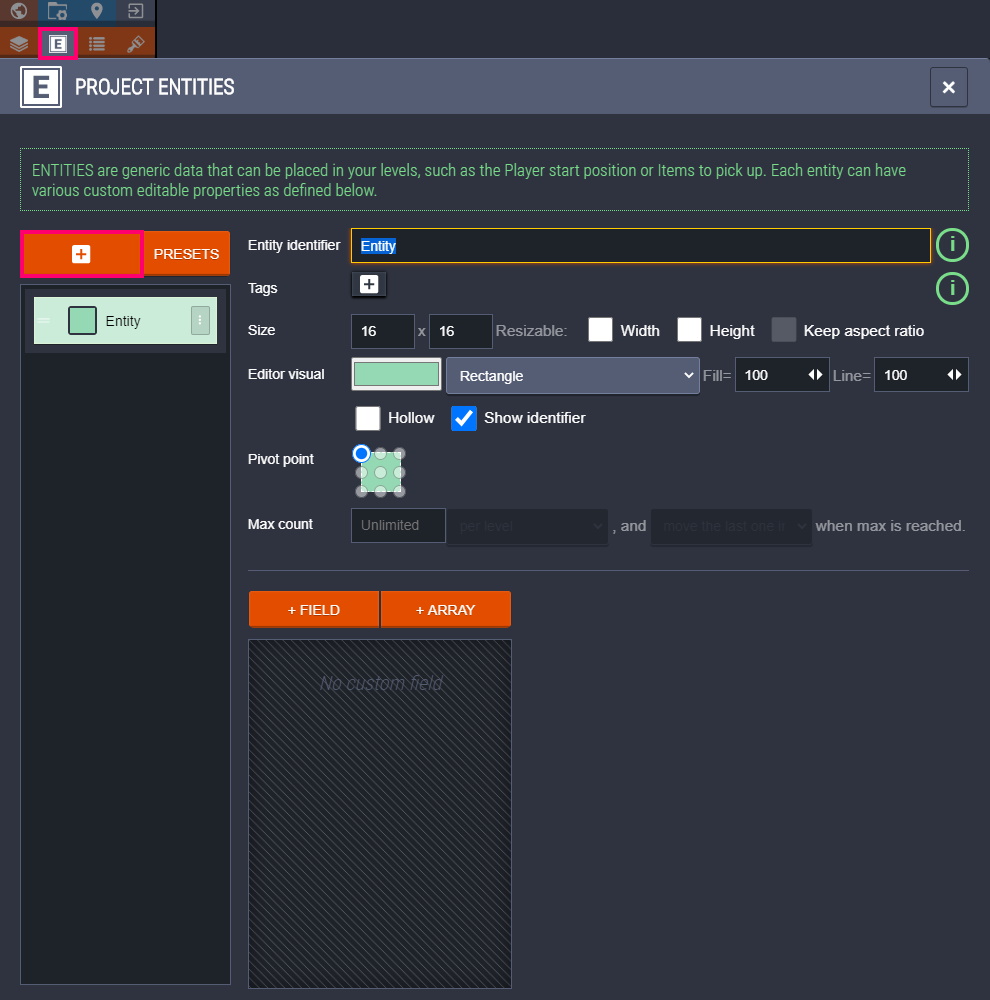
Entity has size, tag, name, and variables.
Create new variables (+ Field), or arrays of variables (+ Array) to pass the necessary information about the entity.
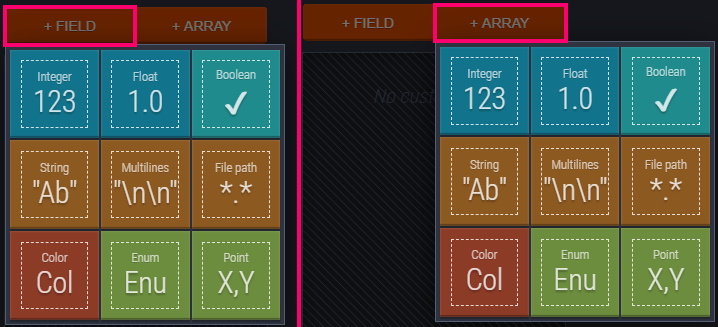
Tags will be useful to you during parsing, because entity with one tag, are placed in one common array.
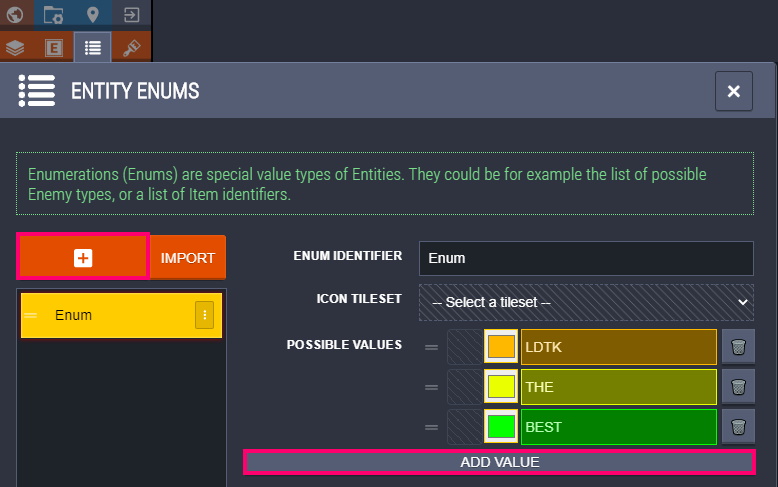
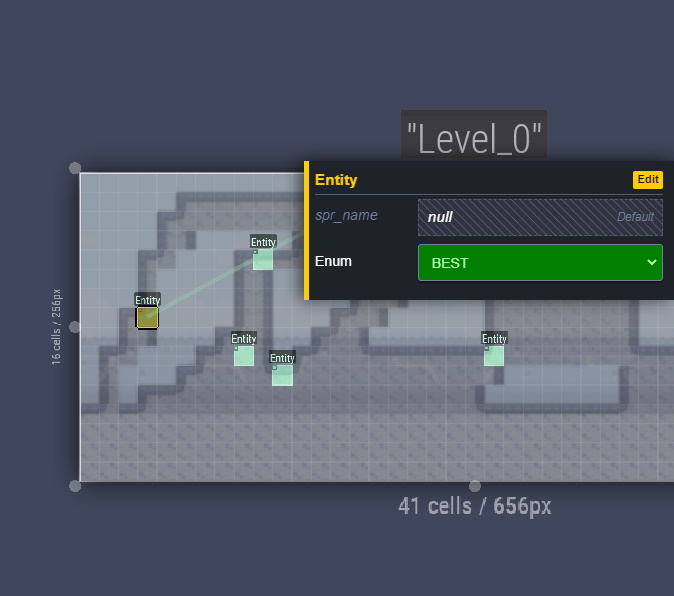
Enums are created in the Entity enumscolumn. Needed when you want to set the mode or state of the entity. Of course, you can use int variables, but Enums is more convenient.
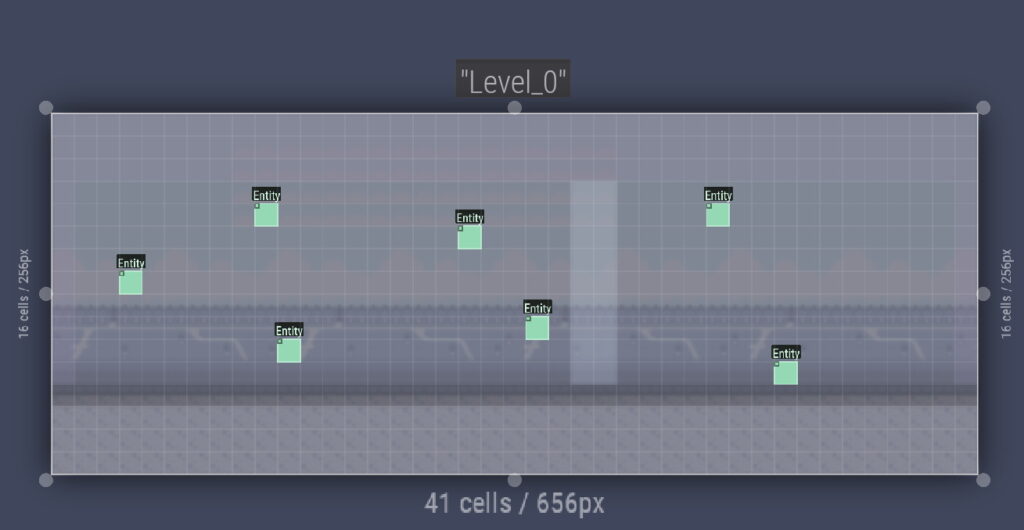
Once you’re done creating an entity,place them on the map.
Other.
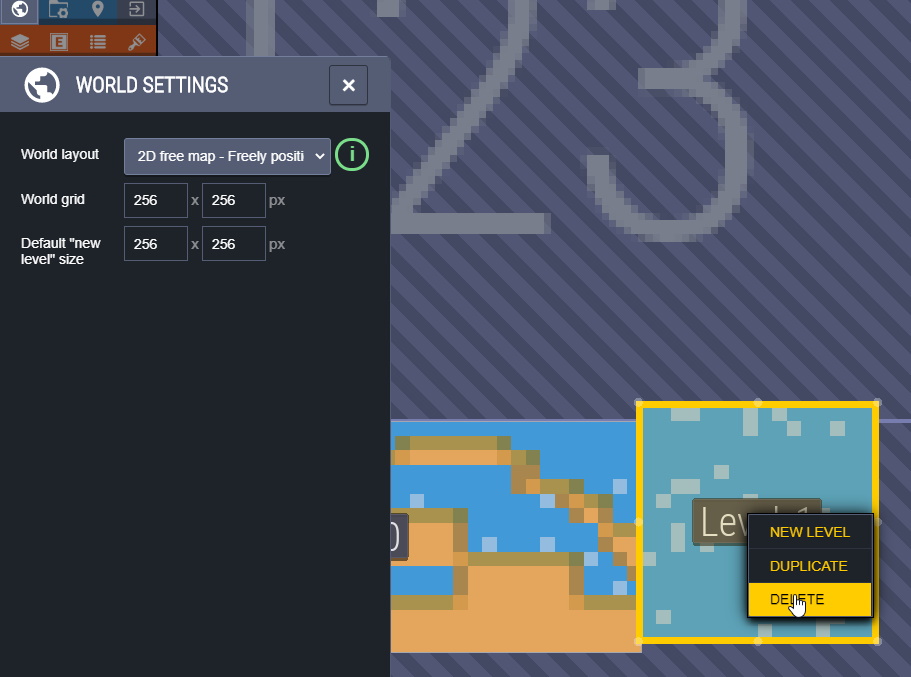
Take the mouse out of the level, and press RMB->New Level. Thus, you will create a new level.
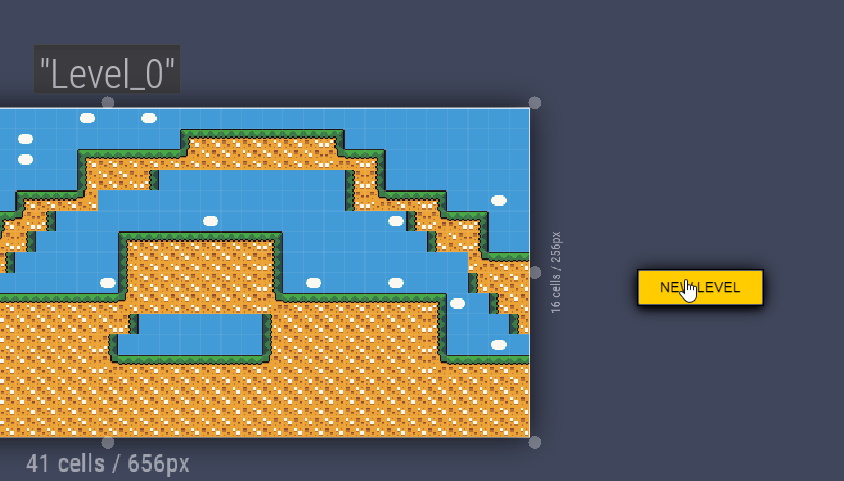
To remove it, scroll down with the mouse wheel,select the level and press Delete.
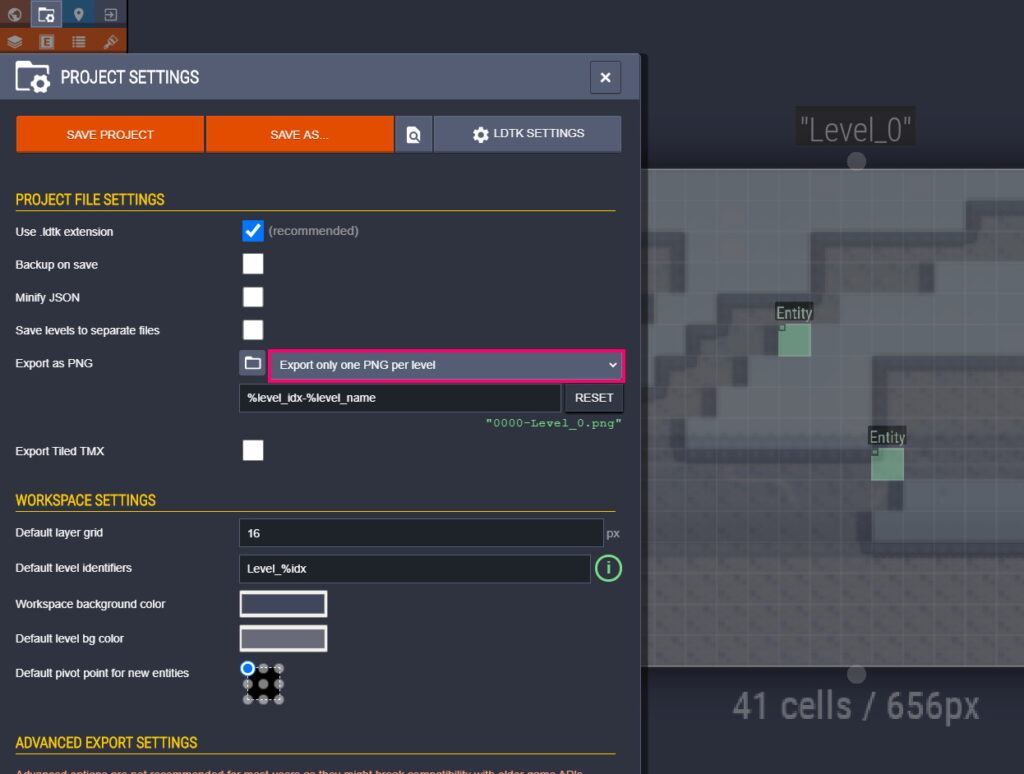
To export to PNG,open the project settings, and enable Export as PNG. After saving, a PNG map image will appear in the project folder.
Conclusion.
LDTK is a powerful and truly awesome level creation tool. I use this tool extensively in my SGDK projects. It got to the point that thanks to the LDTK and Python script, it was possible to simplify the development to the point of absurdity.
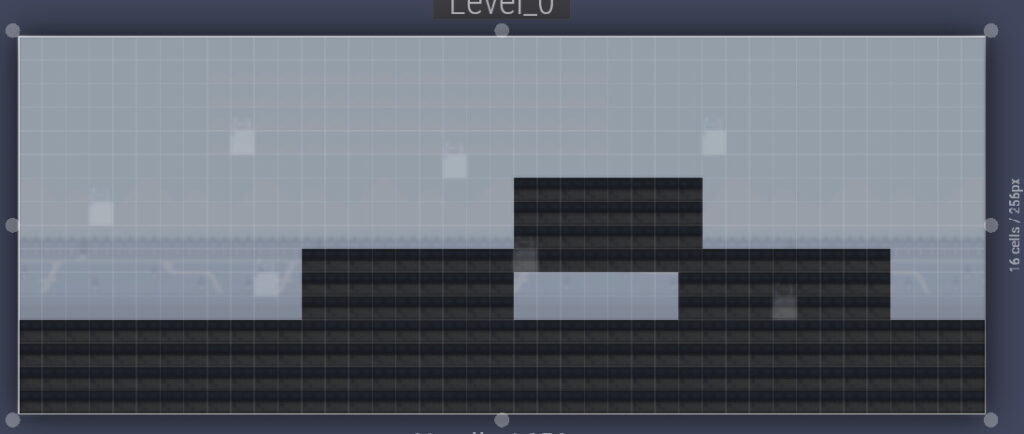
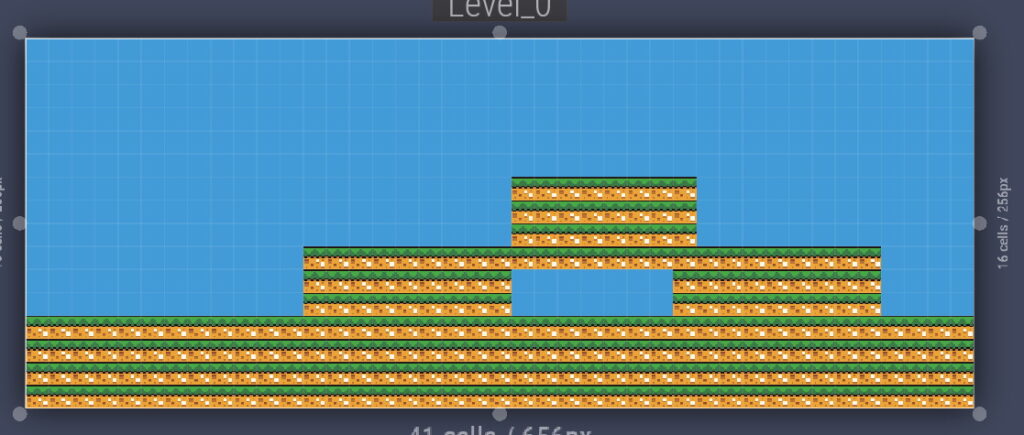
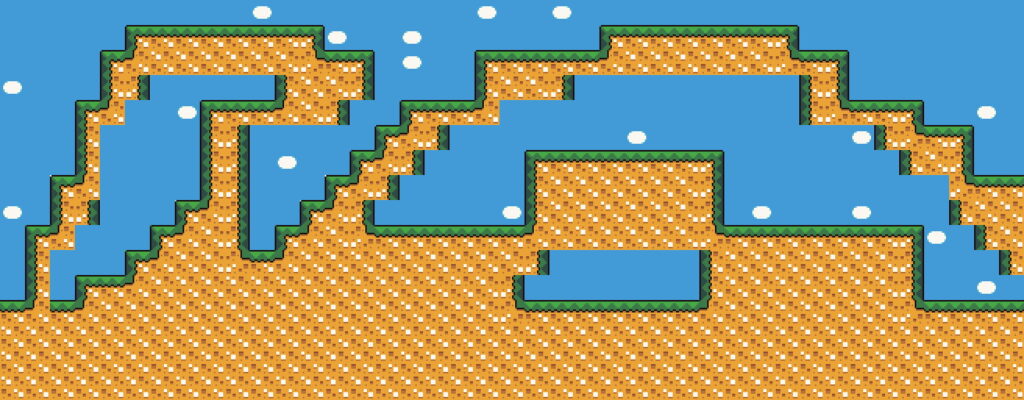
Final result.